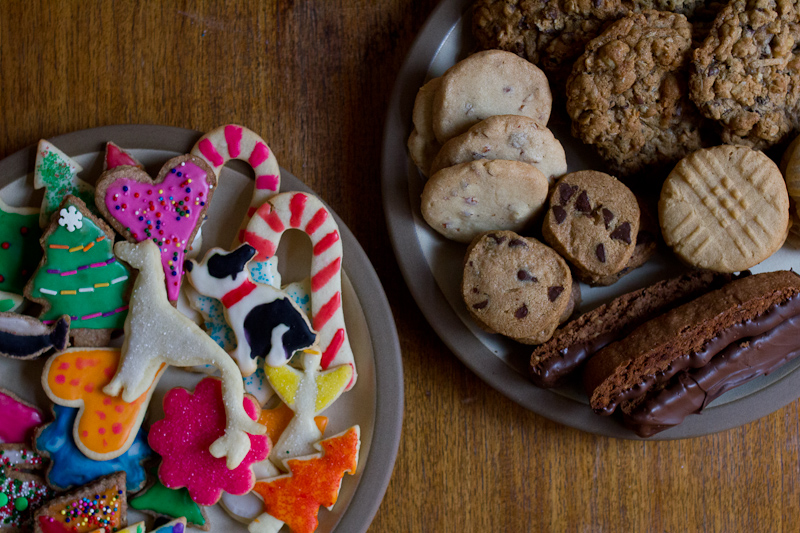
Cookie Day is certainly up there as one of my favorite food days of the year. An epic day of baking, decorating and mimosa-drinking, hundreds of cookies are made and slightly fewer are consumed. The apartment gets covered in flour and we find sprinkles scattered on the floor for days afterward.

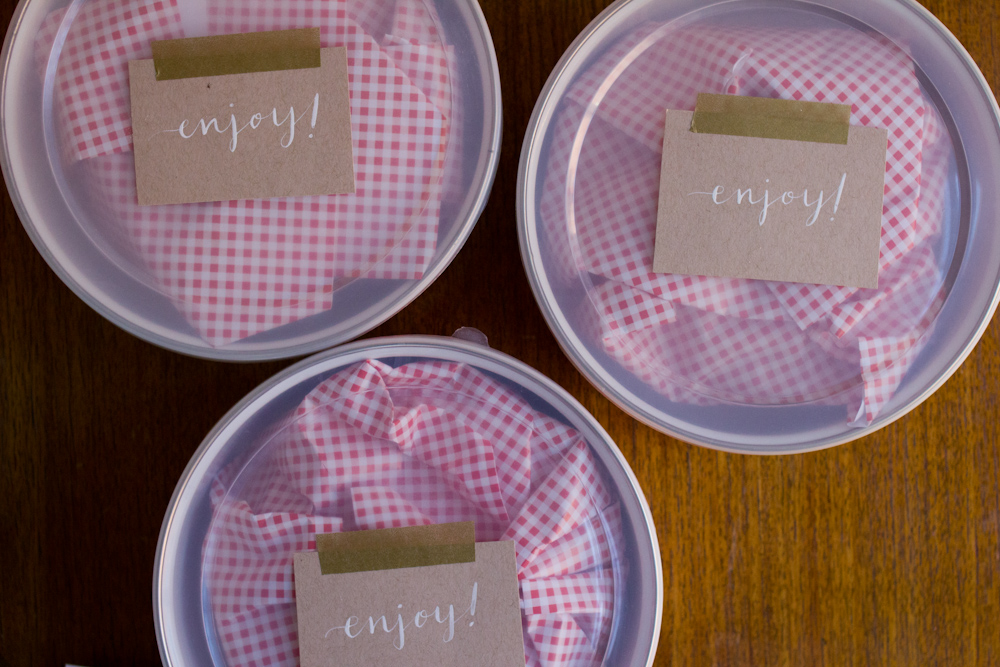
This year featured some old favorites and a few new recipes too. Most are detailed or linked to below. I’m hoping to check back in here before the holidays with some photos from Japan, but just in case I don’t make it, Jordan and I wish you a peaceful and joyful holiday.


Granny’s Sugar Cookies, from Nonnie
1/2 cup butter, softened
1 cup sugar
1/2 teaspoon vanilla
1 egg
1/2 teaspoon salt
2 teaspoons baking powder
2 cups all-purpose flour
Beat the butter until it is light and fluffy. Add the vanilla and sugar and cream together for a few more minutes. Add the egg. In another bowl, sift together the salt, baking powder and flour. Add flour mixture into the butter mixture and stir until combined. Divide into two balls, flatten into discs and refrigerate for 4 hours or overnight. Roll out into 1/4″ thickness and cut with cookie cutters. Bake at 400° for 6 – 8 minutes. These babies cook fast so set a timer!
For the icing
4 cups powdered sugar, sifted (trust me, it will save you time in the end)
a few tablespoons of milk
food coloring
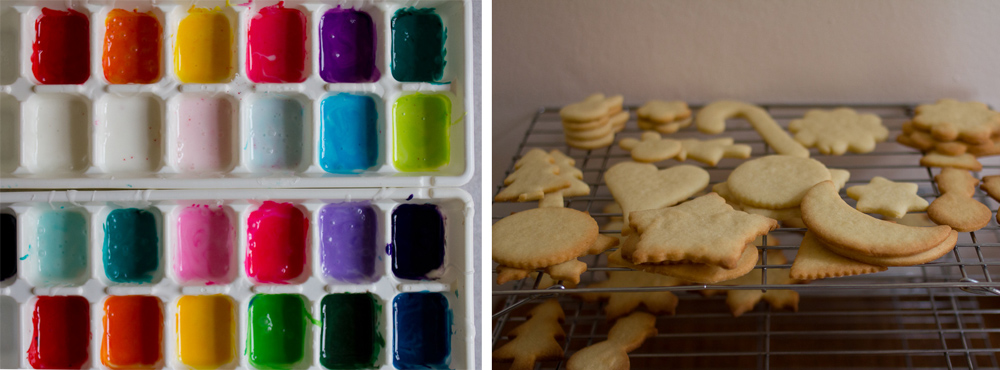
Sift the powdered sugar into a large bowl. Start with 3 tablespoons of milk and whisk together. It will be a big sugary clump. Add a tablespoon of milk at a time, until you get a smooth icing. Careful though, you don’t want it to be so runny or it will run off the cookie. Divide into as many small bowls or cups as colors you’d like to make and add the food coloring. This year’s innovation was using an ice cube tray so we could have lots of colors! I’d recommend getting a pack of cheap paint brushes so you can get real precise with your icing.


Our friend Kelly, a true cookie artisan, and her husband Russ have relocated to New Zealand, but they joined in on the fun from afar, contributing these kiwi masterpieces! We miss them everyday, but especially on Cookie Day. Here in the Northern Hemisphere, things got a little crazy towards the end of the day and we decided to take a page from Jackson Pollock’s book.
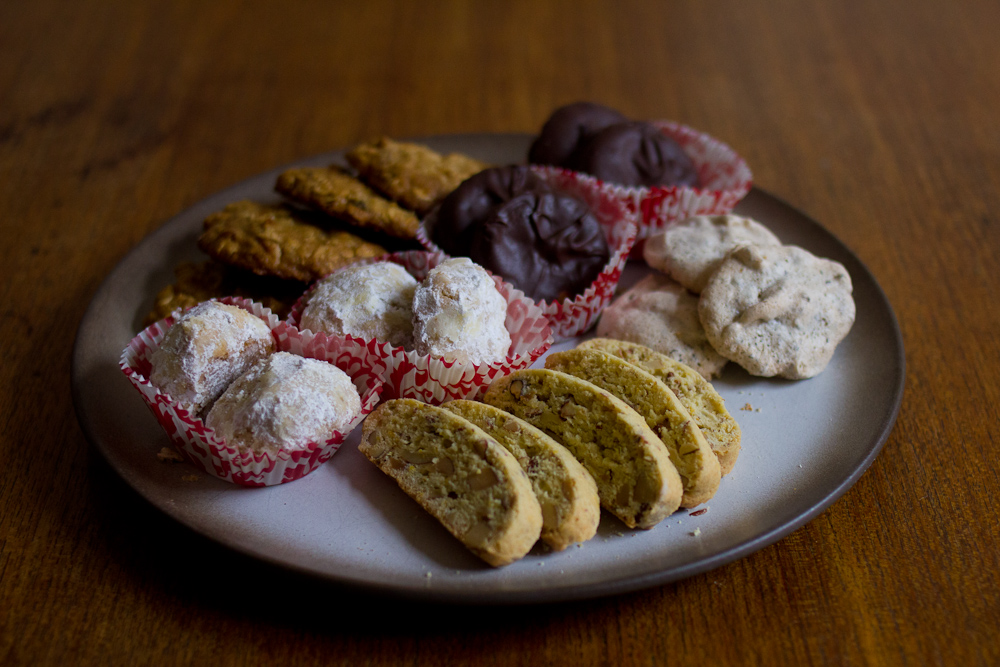
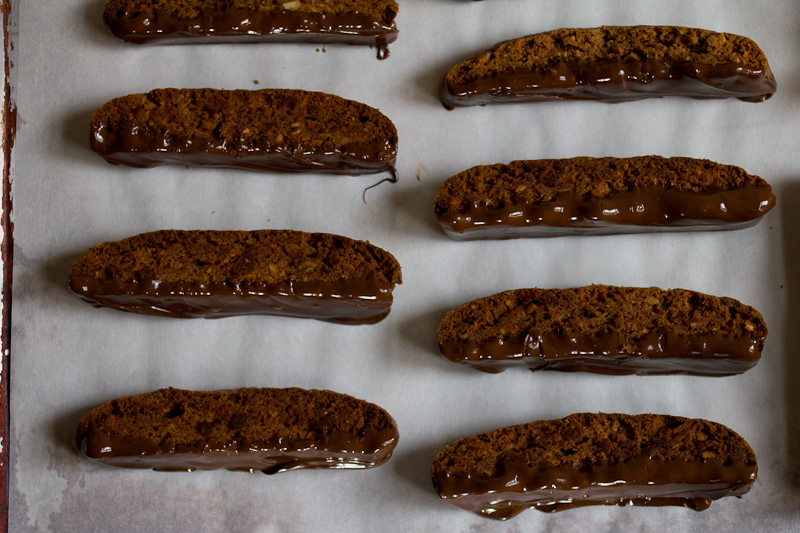
Biscotti with Fennel Seed and Orange, adapted from the Zuni Cafe Cookbook
3/4 cup almonds
4 tablespoons butter, cold
1/2 cup plus 2 tablespoons sugar
1 large cold egg
1 teaspoon vanilla extract
1 1/4 cup all-purpose flour
2 tablespoons fine cornmeal
1 teaspoon baking powder
1/2 teaspoon salt
1 1/2 teaspoons fennel seeds, chopped finely
Preheat your oven to 325 degrees F. Roast the almonds on a baking sheet until light brown and fragrant, about 15 minutes. Finely chop 1/4 cup of the nuts, and coarsely chop the remainder. Pour into a medium bowl. Add the flour, cornmeal, baking powder, salt and fennel seeds and mix to combine.
In a medium bowl, barely beat the butter and sugar together. Add the egg and vanilla, and beat to combine. Add the flour mixure to the butter mixture and mix until combined.
On two piece of plastic wrap, divide the dough in two and shape into a long, about 2 inches wide by 3/4 inch tall by 8 inches long. Wrap in plastic wrap and refrigerate for a few hours or overnight.
Preheat your oven 325 degrees F. Place the logs a few inches apart on a baking sheet lined with parchment. Bake for 20 to 25 minutes, until the log is lightly browned and puffing up a bit. Remove from the oven and with a very sharp knife, slice the biscotti into thin slices, about 1/2 inch thick. Return to the baking sheet, turn them onto their sides and bake an additional 5 minutes more.
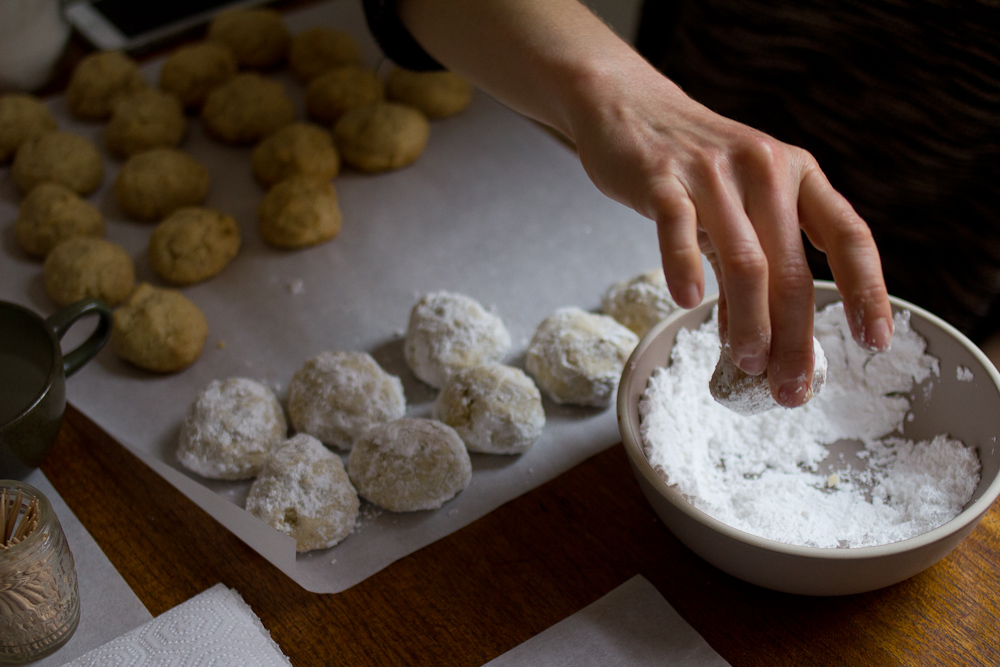
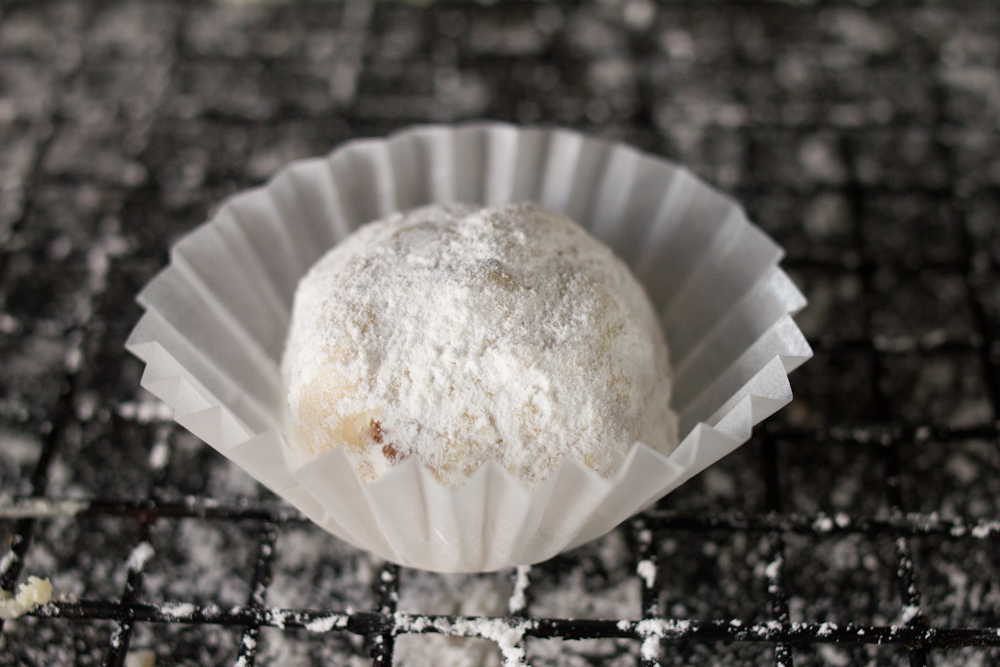
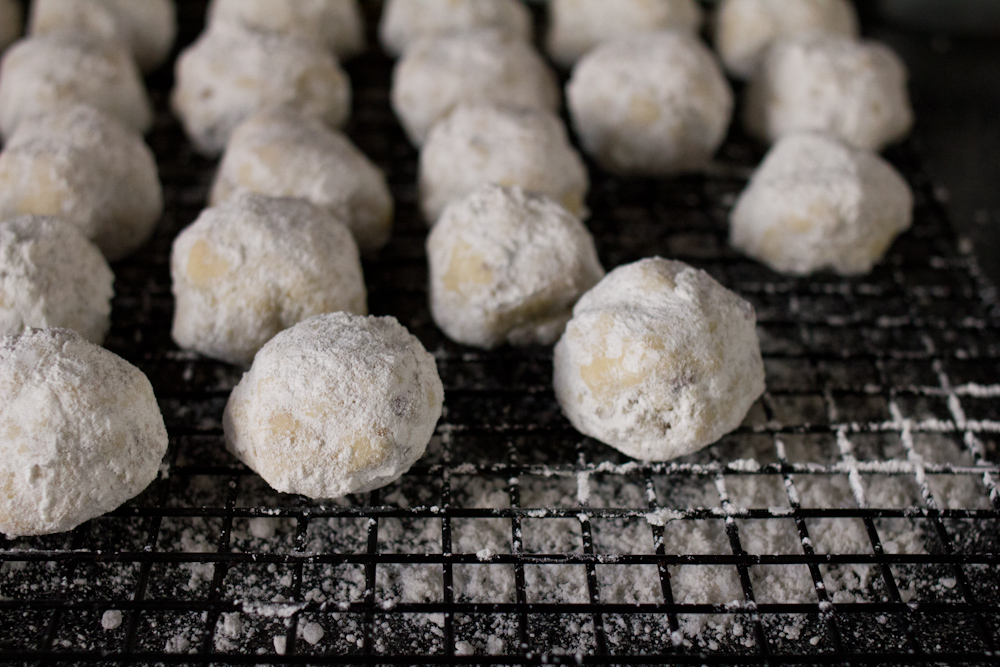
Mexican Wedding Cookies, our friend Jessi’s family recipe
1 cup butter, softened
1/4 – 1/2 cup sugar
1/2 teaspoon salt
2 teaspoons vanilla
2 cups all-purpose flour, sifted
1 cup freshly ground almond flour
powdered sugar for dusting
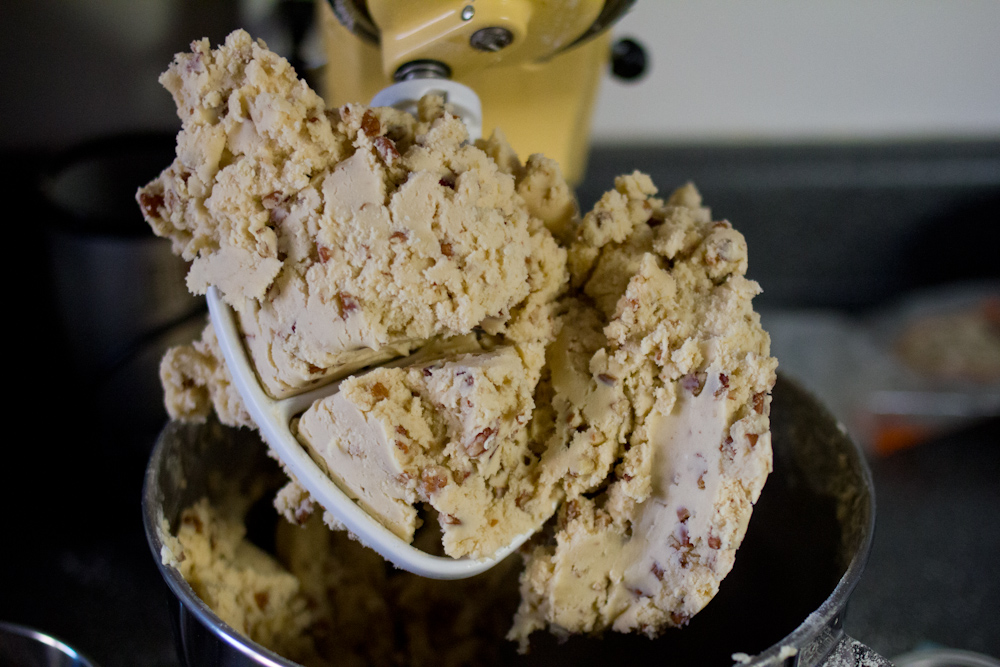
Preheat your oven to 325 degrees F. In a food processor, grind 1 cup of fresh, raw almonds until they are very finely chopped, a coarse flour-like consistency.
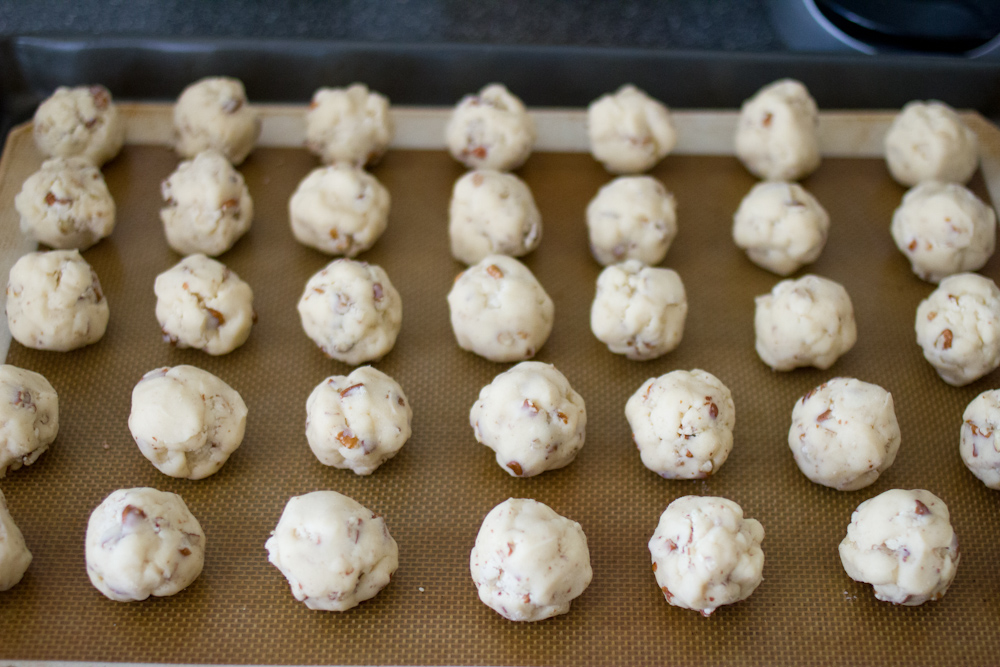
In the bowl of your mixer, cream together the butter and sugar until light and fluffy. Add the vanilla and mix a bit more. Add the flour and almond flour. Roll into 1 inch balls.
Bake on a parchment lined cookie sheet for 12-15 minutes, until lightly browned. Roll in powdered sugar.
Oatmeal Raisin Cookies, our friend Robin’s family recipe
1 cup all-purpose flour
1 tsp baking powder
1/2 tsp baking soda
1.2 tsp salt
2 tbsp butter
1/4 cup apple sauce
1/2 cup sugar
1/2 cup light brown sugar
1 egg
1 tsp vanilla
1 1/3 cups rolled oats
1/2 cup raisins
Preheat oven to 375 degrees F. Line a cookie sheet with parchment paper, or lightly spray with cooking spray. In large bowl, mix flour, baking powder, baking soda, and salt. In a separate bowl, whisk together butter, apple sauce, sugars, egg, and vanilla until the butter breaks down into pea-sized pieces. Add flour mixture to apple sauce mixture. Mix well. Fold in oats and then raisins. Drop rounded teaspoonfuls onto cookie sheet two inches apart.
Bake for 10-12 min. Remove from oven and cool on cookie sheet for 5 min. Remove and place on cooling rack.
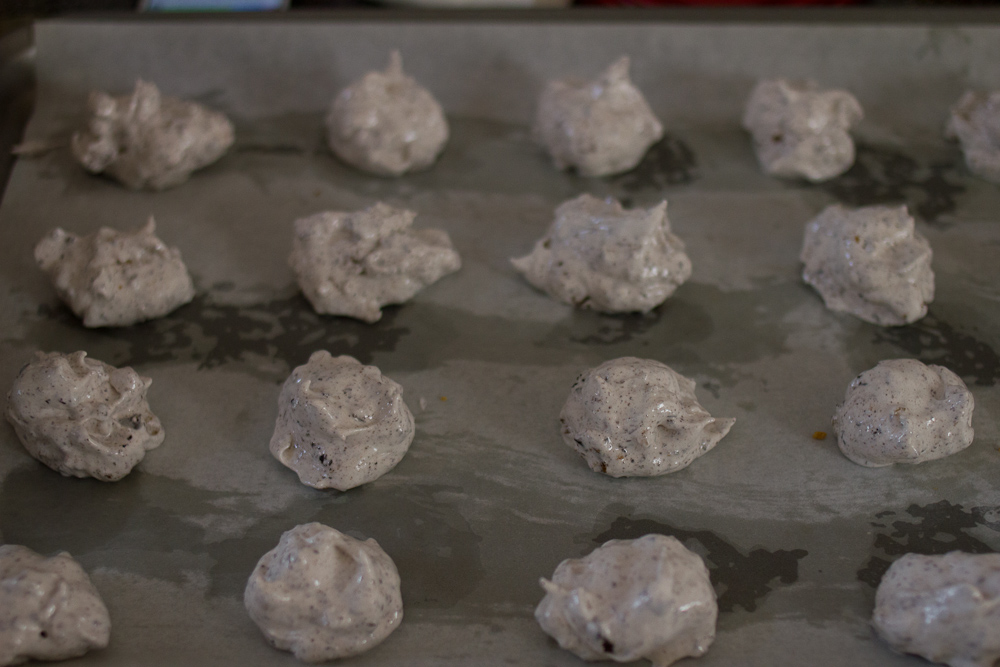
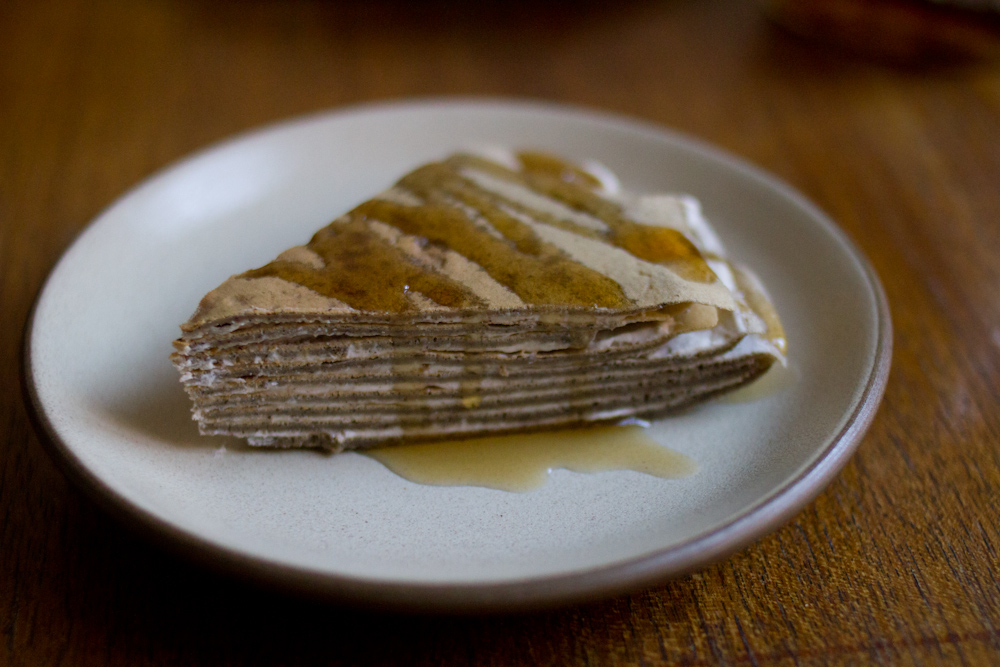
Mom’s Chocolate Chip Meringues, from Smitten Kitchen
Using just two egg whites, some sugar and some chocolate, these cookies are pretty amazing! Crunchy on the outside, super chewy on the inside with just a hint of chocolate, they look like cookies and cream ice cream and are nearly as good.
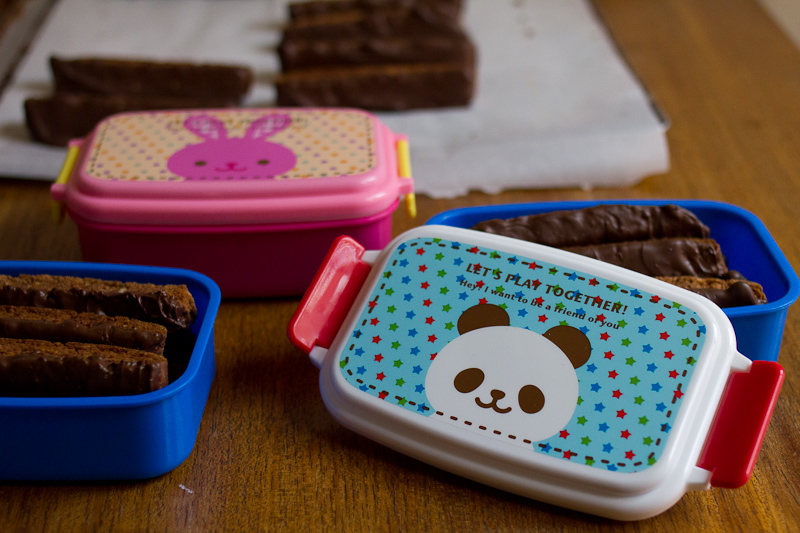
Chocolate Covered Peanut Butter Ritz Sandwiches, from Spoon Fork Bacon
We swapped the milk chocolate for dark. Make sure to pop these babies back in the freezer after dunking in chocolate, especially if you’ve got a tiny kitchen and hot oven on for hours.
-Emily


