Categories
Recipes

middle class brioche

At the end of the spectrum opposite spelt bread, there is brioche—lest you worry our dedication to butter had wavered. For Mardi Gras a few weeks ago, our friend Kelly made an amazing King Cake. Buttery, airy, just slightly sweet, it was perfection. I enjoyed it for dessert, and then again for breakfast the next day. It took a lot of self-control to not eat Jordan’s piece while he slept. Obviously, I asked for the recipe.

What I received in return was 6 pages of instructions with different classes of brioche, each with different amounts of butter and egg, and each with different baking techniques. The recipe titles were pretty great. Rich Man’s Brioche, featuring a whole pound of butter. Middle Class Brioche, a moderate 8 ounces or two sticks. And Poor Man’s Brioche, a modest 4 ounces of butter. Kelly recommended Middle Class and that is what I bring you today.

03-30-13-23

This was my first time making brioche. Working with brioche dough is very different from most other bread doughs I’ve made. Because of all the butter, you shape it when it is very cold, which was much more similar to cookies than bread. The shaping was actually much easier for a first timer than a sourdough hearth bread or baguette. It gives me confidence for future croissants!

Middle Class Brioche Buns 

Sponge
1/2 cup (2.25 oz) unbleached bread flour
2 teaspoons (0.22 oz, 1 packet) instant yeast
1/2 cup (4 oz) whole milk, lukewarm (I used 2% without incident)

Dough
4 (8.25 oz) large eggs, at room temperature
3 cups (13.75 oz) unbleached bread flour
2 tablespoons (1 oz) granulated sugar
1 1/4 teaspoons (0.35 oz) salt
1 cup (8 oz) unsalted butter, at room temperature
1 egg, whisked until frothy for egg wash

03-30-13-15

Make the sponge. Stir together flour and yeast in a large mixing bowl or the bowl of your stand mixer. Add the milk and stir until just combined. Cover with plastic wrap and set aside for 20 minutes in a warm place.

Make the dough. Add the eggs to the sponge and whisk or beat with the paddle attachment until smooth.  In a separate bowl, stir together flour, sugar and salt. Add the flour mixture to the sponge mixture. Stir until all the ingredients are combined. Let the dough rest for 5 minutes. Add the butter, one quarter at a time, stirring the dough well after each addition. This should take a few minutes. Continue mixing for another six minutes on medium speed. You’ll have to scrape down the bowl from time to time. The dough should be smooth and soft.

03-30-13-16

Refrigerate the dough. Line a sheet pan with parchment. Mist lightly with oil or coat lightly with oil using a brush or paper towel. Transfer the dough to the pan, spreading it into a rectangle about 6 inches by 8 inches. Coat the dough lightly with oil and cover with plastic wrap. Refrigerate overnight, or for at least four hours.

03-30-13-17

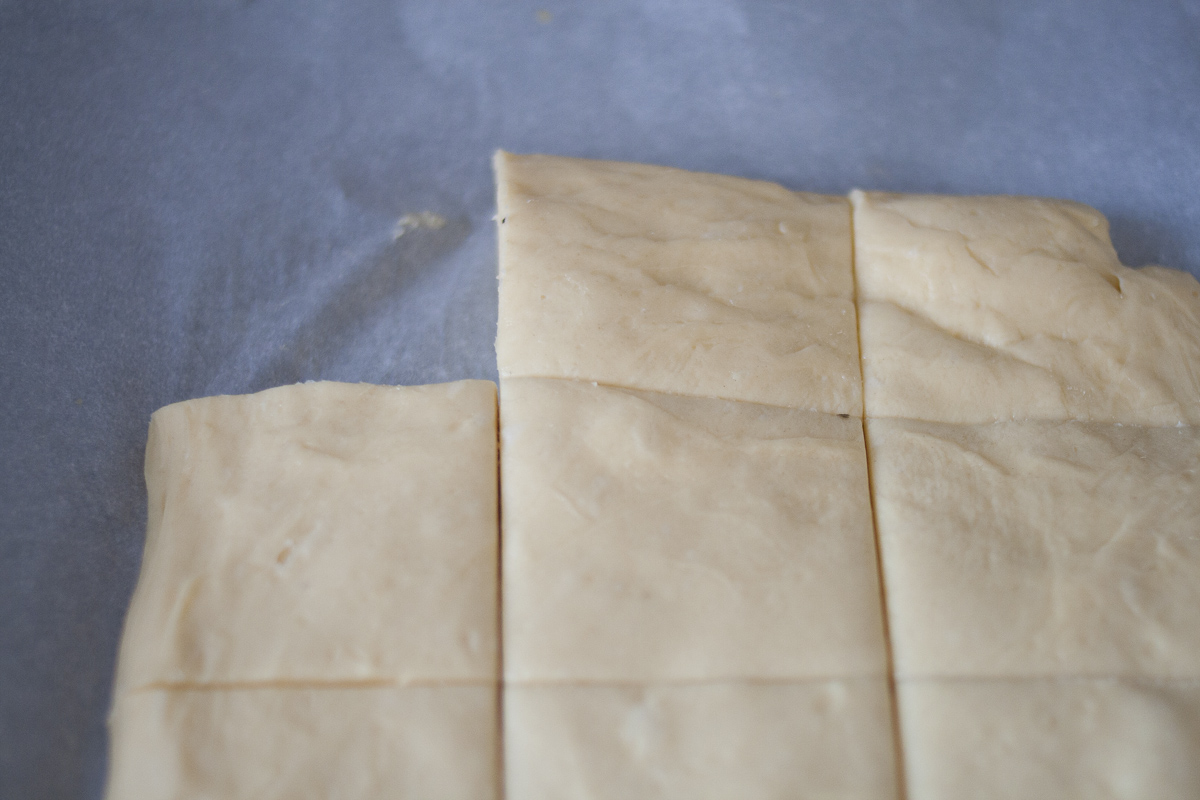
Shape the dough. Line two baking sheets with parchment  Coat lightly with oil. Remove the dough from the fridge and immediately shape. I was making hamburger buns so I used a pizza cutter to divide the dough into 12 equal squares. I then used my hands to roll each square into a ball. I spaced the balls evenly on each sheet, six per baking sheet. They’ll about double in size so you’ll want to keep that in mind. Coat each ball lightly with oil and cover with plastic wrap.

03-30-13-19

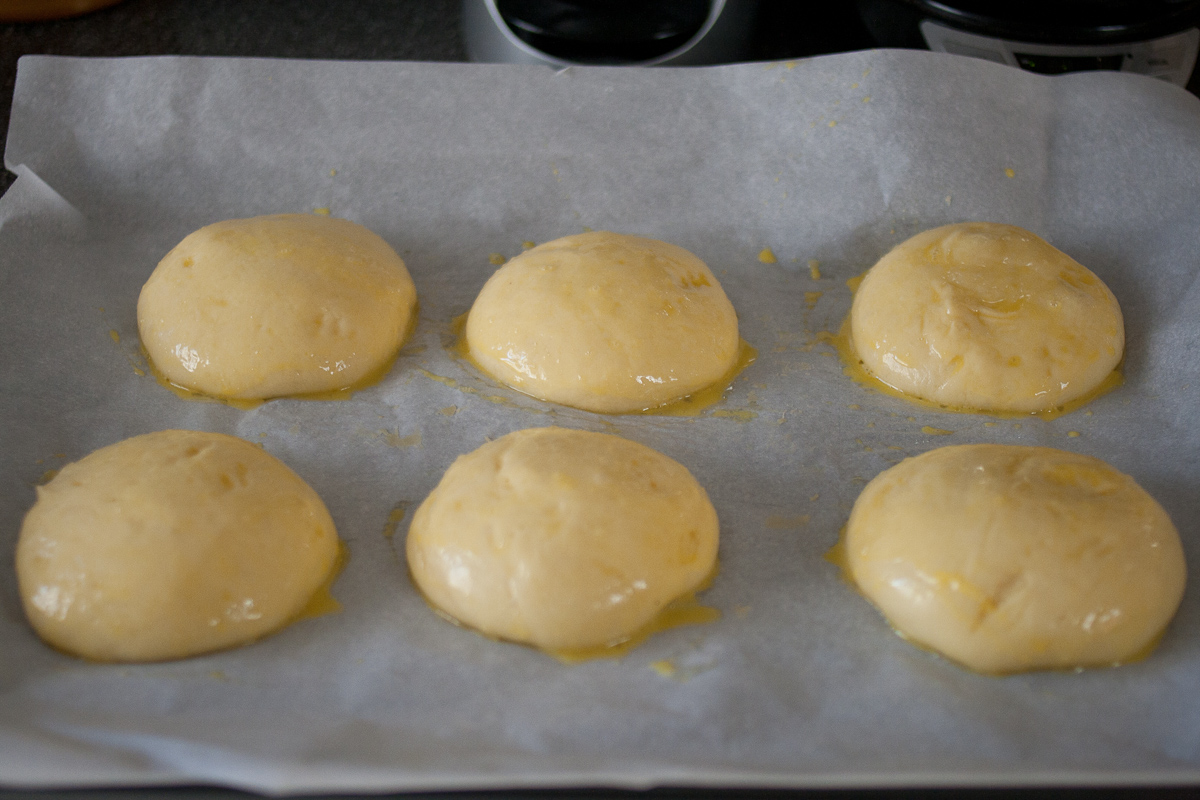
Proof the dough. Let the dough rise in a warm place for about 2 hours. It will just about double in size. After about two hours, preheat the oven to 400 degrees. Whisk the egg in a small bowl. Coat the dough balls throughly with the egg wash. This is what gives them their beautiful shine. Let them proof for another 15 – 20 minutes.

03-30-13-21

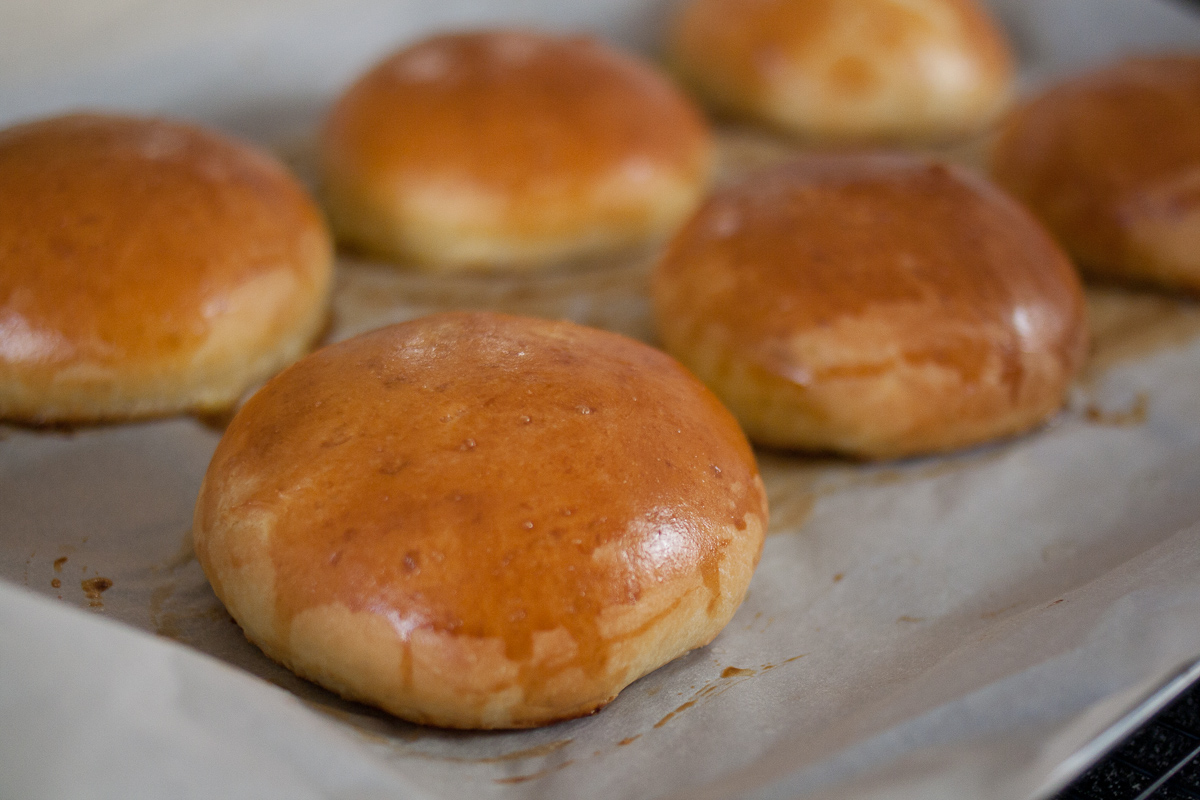
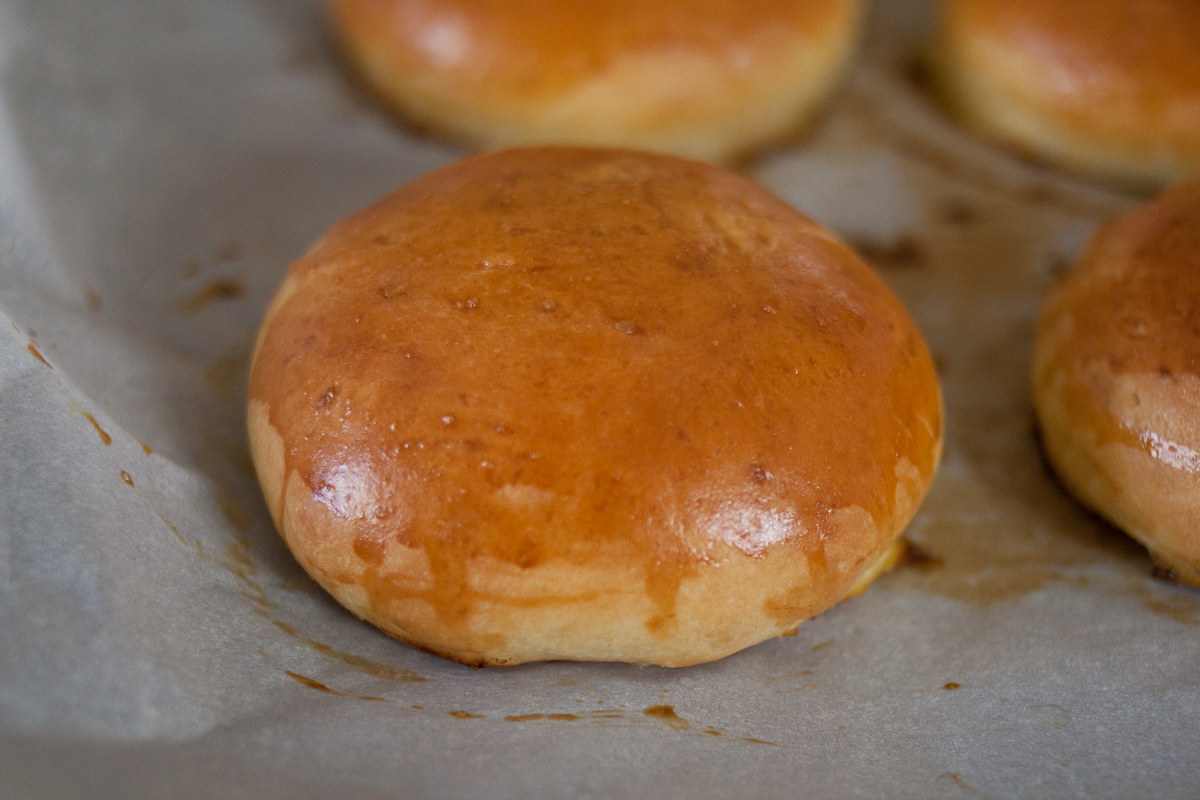
Bake the buns for 15 – 20 minutes. They should be golden brown and 180 degrees internal temperature. Baking brioche with make your house smell like heaven. You’ll probably want to have the scent of baking brioche as a perfume and you’ll likely text that exact thing to several friends. Sit on your kitchen counter while your brioche bakes and savor it.

03-30-13-18

03-30-13-20

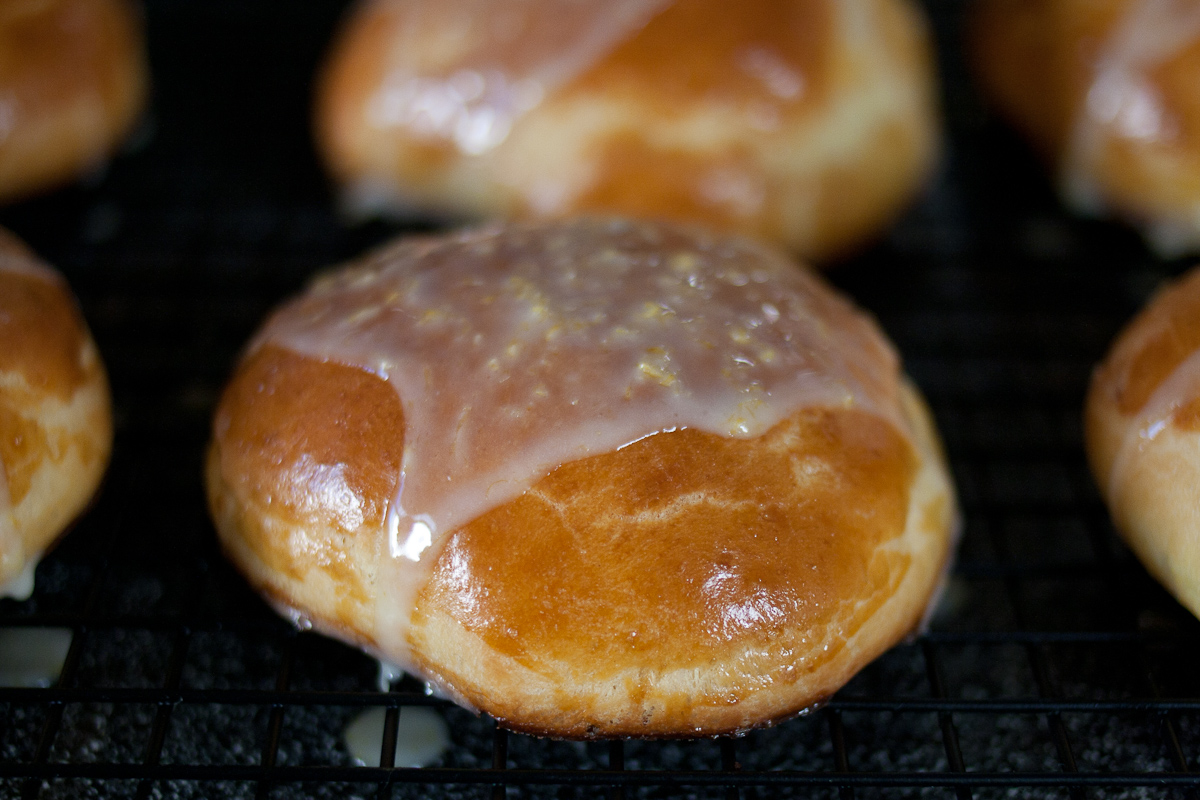
Cool on a rack for 20 minutes before serving, or until cool before glazing. I turned half of the brioche into dessert brioche and left half plain for hamburger buns. The dessert brioche I glazed with a grapefruit glaze. I’d highly recommend it.

03-30-13-24

GrapeFruit Glaze
1 cup powdered sugar
grapefruit zest
2 tablespoons grapefruit juice

03-30-13-22

Sift the powdered sugar into a medium bowl. Add the grapefruit zest and juice. Whisk to combine. Once the brioche buns have cooled, spoon the glaze over them. Let the glaze set. If you have extra glaze, feel free to do a second coat.

-Emily
Categories
Recipes

chicken pot pie

The chicken pot pie of my childhood was made by Marie Callender’s. It was a personal pot pie, and it baked in the oven for what seemed like an eternity. My favorite part was the crust coated in that creamy pot pie sauce. Well, this chicken pot pie a thousand times better, though it’s a time commitment. Between making the pie crust, roasting chicken, blanching vegetables, making a bechamel, you’re in it for the long haul. But it’s worth it.

I’d recommend making chicken pot pie when you have left over meat from roasting a chicken and chicken enchiladas or chicken soup don’t sound appealing. I’d also recommend it for a crowd – a single slice will fill you up. You could very easily make this ahead of time, freeze it and bake it straight from the freezer, adding 20 – 30 minutes of additional bake time.

03-30-13-6

Chicken Pot Pie, adapted from Ad Hoc at Home
Pie Crust
2 1/2 cups all purpose flour
1 1/4 teaspoons kosher salt
2 1/2 sticks unsalted butter
about 5 tablespoons ice water

Filling
1 cup red skinned potatoes, peeled and cut into 1/2 inch pieces
1 cup carrots, peeled and cut into 1/2 inch pieces
12 pearl onions, peeled
1 cup celery, cut into 1/2 inch pieces
3 bay leaves
3 thyme sprigs
1/2 tablespoon peppercorns
1/2 cup peas
2 cups cooked chicken, cut into 1/2 inch pieces

Bechamel
3 tablespoons butter
3 tablespoons flour
3 cups milk
1 teaspoon kosher salt
black pepper
1 tablespoon parsley
1/2 teaspoon fresh thyme
pinch of cayenne

Make the pie crust the night before. In a food processor, combine flour and salt. Remove the butter from the fridge and cut into 1 inch cubes. Add them to the flour mixture. Process until the butter chunks are about the size of peas. Add the water and pulse a few times to combine. Divide into two equal balls, wrap in plastic wrap and refrigerate.

03-30-13-1

Preheat your oven to 375 degrees. Remove the dough from the fridge and let it warm just slightly. Roll out the dough and place one piece in a 9 inch pie pan. Cut around the edges and put it back in the fridge. Roll out the second piece of dough into a 12 inch round. Place on a baking sheet and put it back in the fridge.

03-30-13-2

Bring a pot of water to boil. Add the bay leaves, thyme and pepper corns. Salt the water until it tastes like sea water. Blanche the potatoes, carrots and onions for 8 minutes. Add the celery and cook for another two. Strain the vegetables from water, pour them onto a sheet pan and discard the spices.

In a medium pan over medium heat, melt the butter. Add the flour and whisk for 2 to 3 minutes, until the mixture is light brown. Whisk in the milk. Let the sauce come to a boil to thicken, stirring often. Remove from the heat. Add the salt, pepper, thyme, parsley and cayenne. Make sure you’re happy with the seasoning.

03-30-13-3

Remove the bottom crust from the fridge. Scatter the blanched vegetables, frozen peas and chicken in the pie shell. Pour the bechamel over the pie. Beat an egg in a small bowl. Moisten the rim of the shell with some of the egg. Top it with the other crust. Pinch around the edges and cut off the excess. Brush the top with the egg. Cut a small vent in the top crust to allow steam to escape.

03-30-13-4

Bake on the lower rack of 375 degree oven until the crust is golden brown, 45 minutes to 1 hour. Remove the pie and let rest for 10 minutes. Cut into wedges and serve warm.

03-30-13-5

-Emily

Categories
Recipes

little birds

Emily and I wanted to do something a little special (and very delicious) for a recent dinner party.  After nearly endless debate and hours scanning the pages of our cookbooks, we settled roast cornish hens from Ad Hoc at Home.  These succulent little chickens are slathered and stuffed with gremolata butter.  It couldn’t possibly be bad.

Roasted Game Hens with Gremolata Butter, from Thomas Keller’s Ad Hoc at Home.

For the gremolata butter
1 t black peppercorns
finely rated zest of 2 lemons
2 garlic cloves, grated or minced
12 T (1.5 sticks) unsalted butter, at room temperature
2 T lemon juice
2 T  finely chopped flat-leaf parsley
1 T kosher salt

Grind the pepper in a mortar and pestle, add the lemon zest and garlic, and mash to a paste.  Stir pepper mixture and butter together in a medium bowl followed by the lemon juice.  Stir in the parsley and salt.

Yummmmm.  You could do anything with this and it will turn out amazing.  But, we chose to put it all over little birds.

For the hens
4 cornish game hens
duck fat (you can use canola oil if you’d like)
6 garlic cloves, smashed, skin left on
1 bunch thyme
fleur de sel (any sea salt will do)

Remove the neck and innards if they are still intact.  Rinse the birds inside and out then dry them thoroughly with a paper towel.  Then remove the wish bone.

Next, insert your fingers between the skin and the meat, starting at the end of the cavity.  Work your way down the breasts and repeat for the thighs.  Once the skin is loosened, insert about .5 T of the gremolata butter under each thigh and about 1 T under each breast.  Truss the birds and let them stand at room temperature for about 30 minutes.  While they rest, preheat the oven to 450 degrees.

Brush the birds with melted duck fat (or canola oil if you’re using that) and season with sea salt.  Don’t go crazy with the salt here because there is a healthy does of it in the butter already.  Place the birds on their backs in a single layer on a roasting pan and evenly scatter the garlic and thyme around the birds.   Put the birds in the oven for about 25 or 30 minutes, until the internal temperature of the thigh is 160 degrees.  Let rest on a cooling rack for 10-15 minutes then either serve them whole, halved, or quartered.

conclusions:
This was a delightful, tasty meal and those little birds made it feel special.  The gremolata butter is great and I can think of a dozen things to do with it.  The first being this same recipe, but with normal sized chickens.  This is my only complaint with the recipe; the birds are so small that they only take 25 to 30 minutes to cook, which is not nearly enough time for the skin to get brown and crispy.  Next time, I’ll be making this recipe with a four pound chicken and giving it 50-60 minutes in the oven (reducing the temperature to 350 after 10 or 15 minutes, of course).  I’ll let you guys know how it turns out.

-Jordan

Categories
Recipes

lobster day

Lobster is one of those rare foods for special occasions.  Sadly, Emily has never had lobster before and I only once.  With no birthdays or anniversaries in sight, we thought we would create our own special day called “lobster day” that would be held every October 15th in celebration of … well, nothing really, aside from delicious crustacean.  (As a side note, it is now also a celebration of Willow, a new member of our family; she’s a greyhound we rescued on October 16th, but more on that in a separate post).   So with this idea planted in our minds, we got things started.  I rode my bike down to Sun Fat Seafood (the same place I got the shrimp and scallops in “paella, per se”) and picked up two live lobsters and transported them home in a cooler strapped to my back.  Needless to say it was an awkward ride home, but the thought of sweet lobster kept me going.  Cooking them couldn’t be easier.  Simply rinse them off, throw them in a steamer basket over a pot of boiling water, and wait.  There are a few signs lobsters give you to let you know they’re ready to be devoured: their shells turn bright red, the legs come off easily, and the fat starts to ooze out of the torso right in front of the tail.  We ate them with butter and bread.  I think there was a salad and some wine involved too, but all I really remember was the lobster.

-Jordan

There was a salad by the way, I made a simple yet classic caesar salad.  It was a really nice and salty counterpart to the sweet and buttery lobster.

Categories
Recipes

baking therapy: miykaelah’s madeleines

Oh, how I’ve missed Miykaelah’s madeleines since moving to San Francisco! They are the perfect cookie whether eaten by themselves or accompanied with tea, and thanks to Miykealah, one of my favorites. I know the madeleine pan is a bit of an investment, but these cookies are so worth the $14 pan. And, because of that scalloped pan they come out so darn cute!

Miykaelah’s Madeleines
1 1/4 cup cake flour
1/4 t baking powder
1/4 t salt
2 large eggs + two large egg yolks, room temperature
1 t vanilla extract
3/4 cup sugar
grated zest of 1/2 lemon
1/2  cup unsalted butter, melted then cooled

Preheat oven to 375 degrees

Generously brush madeleine pan with melted butter and dust with sugar

In a large bowl with an electric mixer on medium speed, beat the whole eggs, egg yolks and sugar until light and fluffy. Add vanilla and lemon zest and beat until well combined.

In a separate bowl, combine cake flour, baking powder and salt.

Using a rubber spatula, fold the flour mixture into the egg mixture until blended. Add the melted butter and fold until combined.

Drop batter by the spoonful into the madeleine molds. Fill each 3/4 full. Bake until golden brown and springy to the touch, 12-15 minutes.

Immediately invert pan onto a wire rack. Let cool completely. Wipe out pan, let cool, brush with melted butter, dust with sugar and repeat with remaining batter.

Conclusions: Wonderful, perfectly wonderful. I wouldn’t change a thing!

-Emily

Categories
Recipes

butter! homemade butter!

Last night laying in bed, Jordan and I had a serious discussion. It went something like this …

“If you had to live the rest of your life without bacon or butter, which would it be?” “Ummmm, that’s a tough one. But as much as I love pork, especially bacon, I’m going to have to say butter.”

Then …

“If you had to live the rest of your life without coffee or butter, which would it be?” “Oh! Now that is just not fair. Ummmmm. Butter. A life without coffee is cruel, but butter just makes everything better. ” “So, butter?” “Yes, butter.”

Although the final decisions were hard to come to, the clear winner in these match-ups is butter, which brings us to today’s culinary experiment …

Heavy whipping cream -> Homemade butter! from Julia Child’s Mastering the Art of French Cooking 
1 pint heavy whipping cream
Salt (optional)
Garlic, herbs, pepper (optional)

Start with a pint of heavy whipping cream. I poured it into my kitchen aid stand mixer and set the dial to high speed (6-8). You could also use a hand mixer, or put the cream in a jar and shake that sucker for 20 minutes. I took the easy way out and it took about 8 minutes to get from cream to butter.

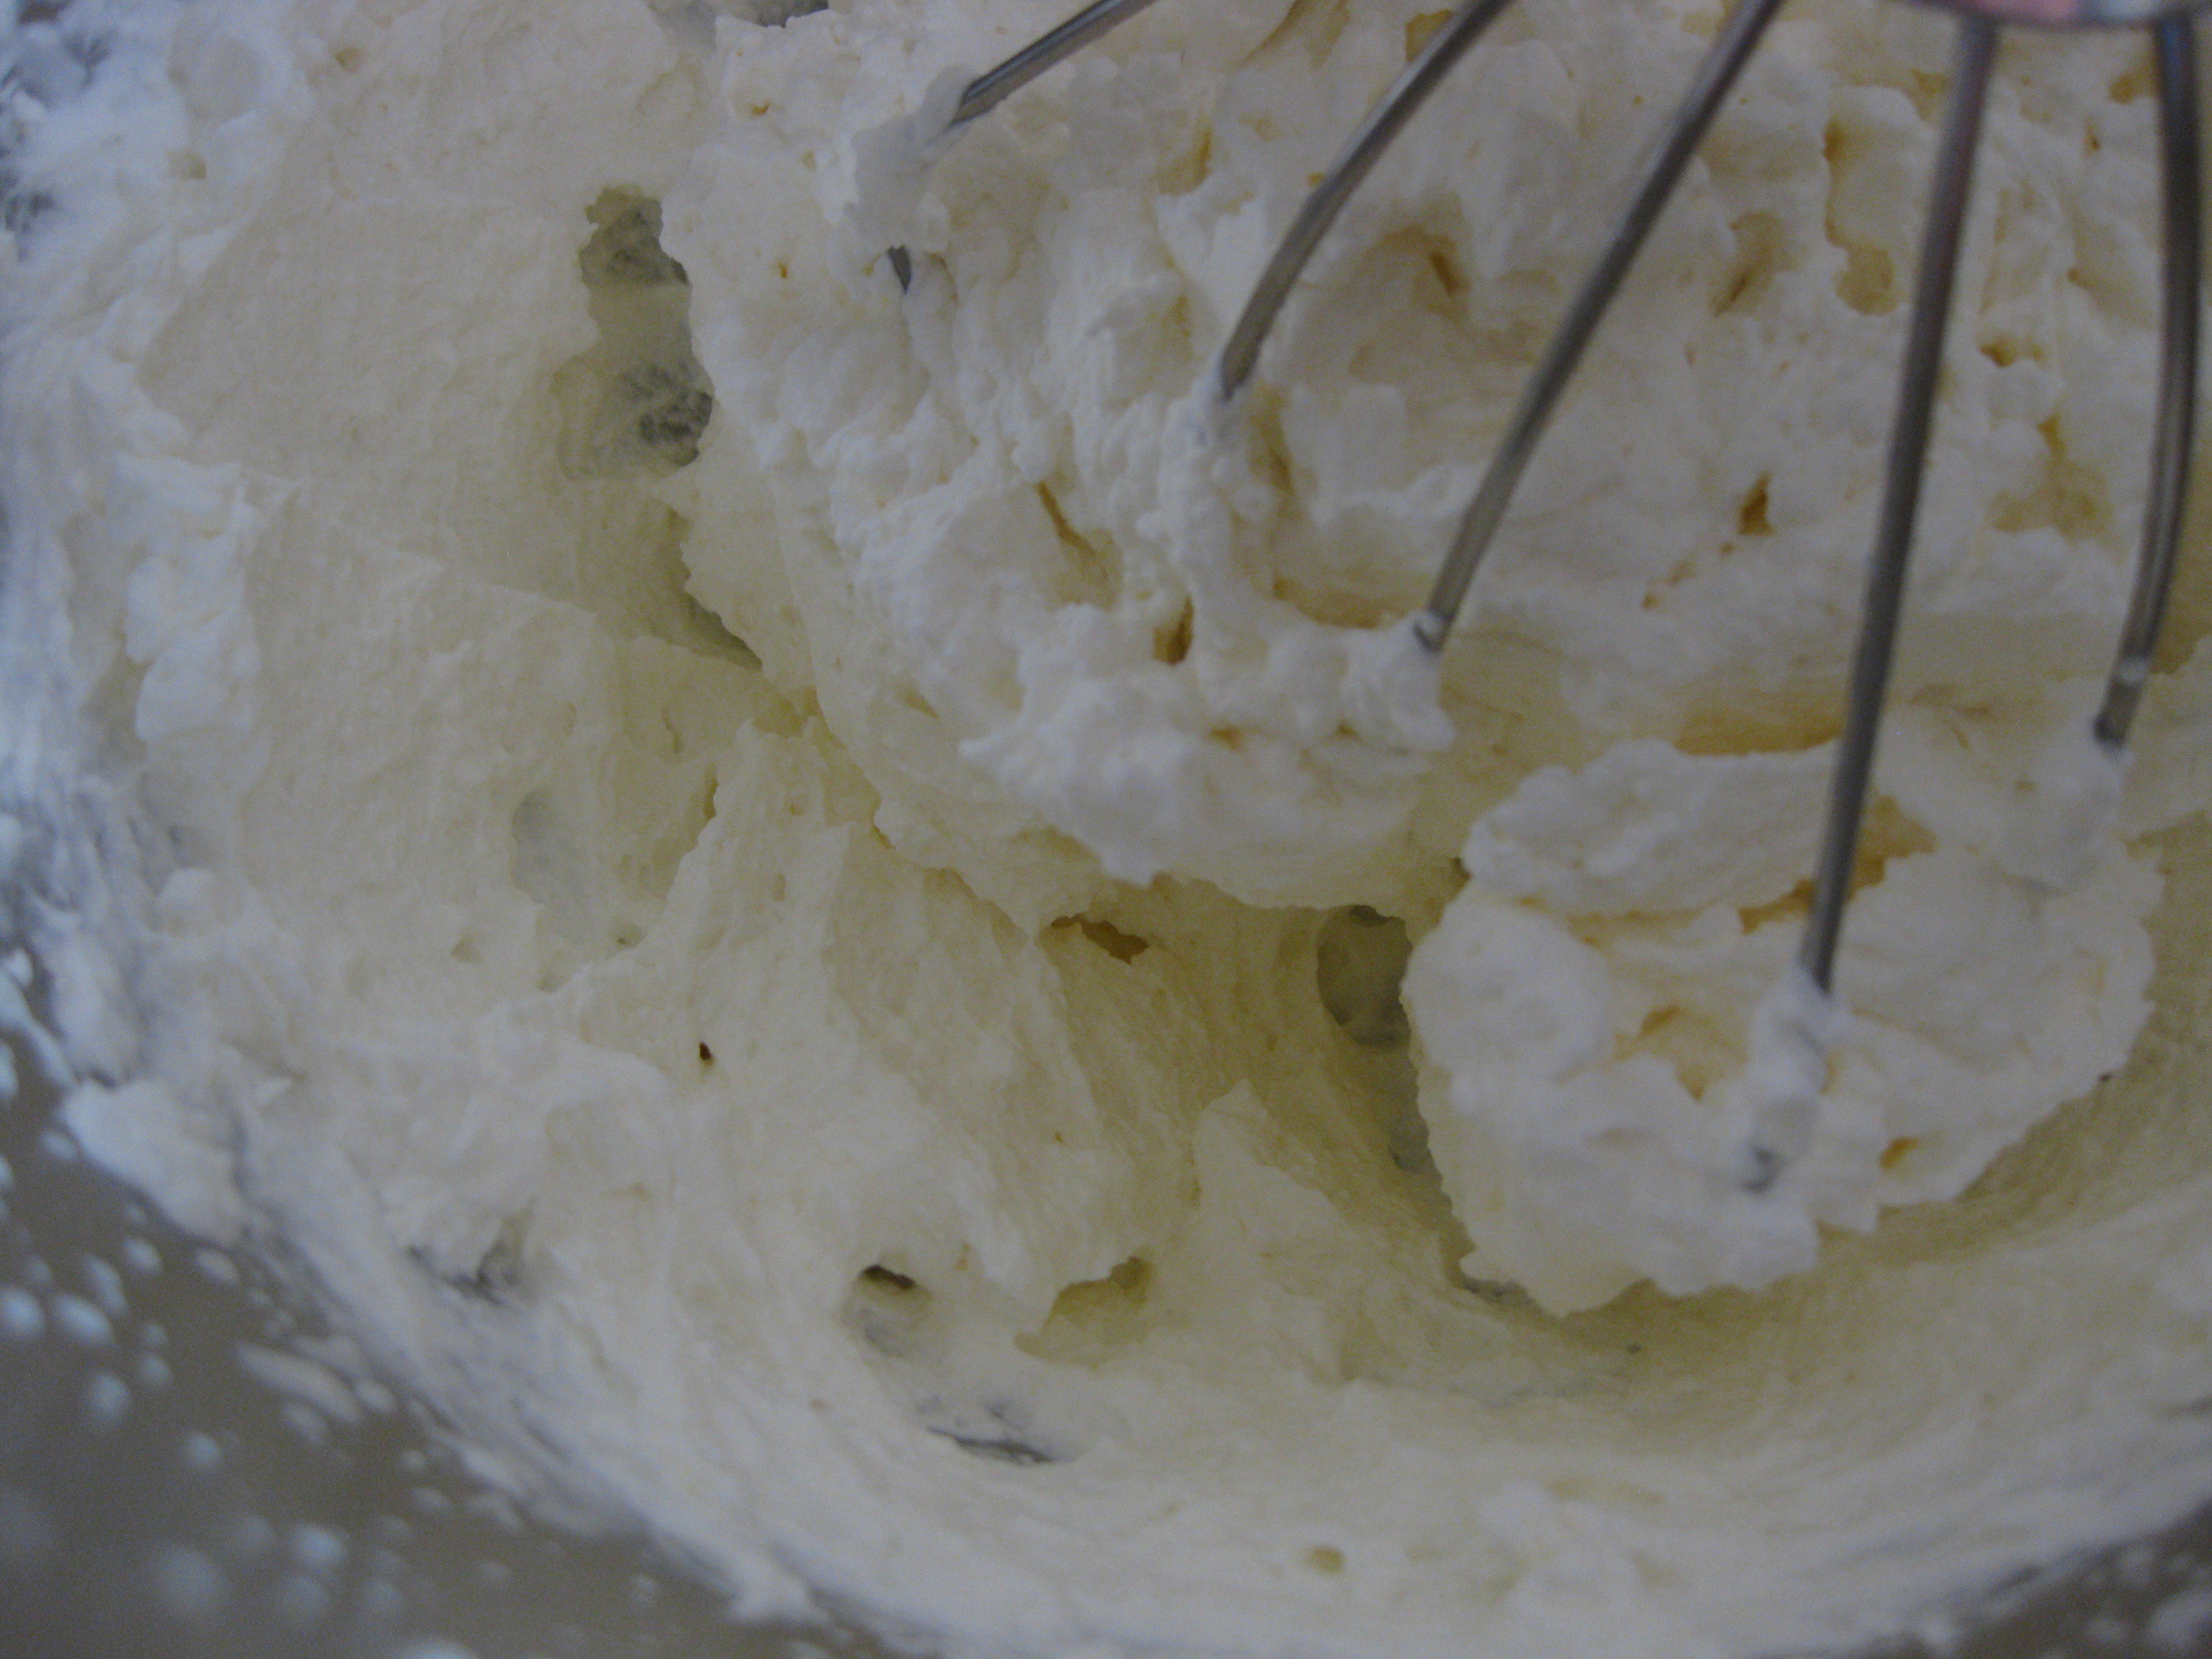
Beat the cream for several minutes, occasionally scraping down the sides of the bowl with a spatula. The cream will go through several stages. The transformation is pretty incredible. When the cream has turned into butter and buttermilk, you’ll know.

Stage 1: cream

Stage 2: whipped cream

Stage 3: extra-thick whipped cream

Stage 4: broken whipped cream (crumbly looking little bits)

Stage 5: separation of cream into butter and buttermilk!

Note: You may want to drape a kitchen towel over the mixer as to prevent splattering cream all over your kitchen. I realized this about half way through the process, and had a little extra cleaning up to do afterward.

Once the cream has separated into butter and buttermilk, strain the buttermilk out with a fine mesh sieve into a bowl. Place the butter in a separate bowl and press out more of the buttermilk with a wooden spoon. Pour off the buttermilk. Put the buttermilk aside and brainstorm a recipe using buttermilk.

Note: It is very important to get all of the buttermilk out of the butter. If you don’t remove all of the buttermilk from the butter, it will go rancid very quickly.  And that would be very, very sad.

After you’ve squeezed most of the buttermilk, pour a cup or two ice-cold water over the butter. Using the back of a wooden spoon, smash the butter around. Washing the butter with water helps to remove the last of the buttermilk. Pour off the water. Repeat this process until the water you pour off is clear. I did it three times.

Note: the water must be ice-cold as to not melt the butter solids.

Add salt to taste and mix throughly with a wooden spoon.

The final product! Salted butter (about 1/2 cup) and buttermilk (about 1 cup)!  YUM!

As an accompaniment to tonight’s dinner (Jordan will bring us more on that later), I decide to make Beurre d’ Ail garlic herb butter from Julia Child’s “Mastering the Art of French Cooking”.  I’ve reduced her recipe to a one meal for two serving size.

4 T fresh, salted butter

1 clove garlic

1 T  parsley (or other green herb), minced

Set the unpeeled clove of garlic in boiling water. Bring to a boil for 5 seconds. Remove from pot, rinse and peel. Bring to a boil again for 30 seconds more. Pound to a smooth paste in a mortar and pestle (or garlic press, if you don’t have a mortar and pestle).

Pound or cream the butter and garlic  together. Season with additional salt, pepper, and herbs.

Conclusions: The salted butter is divine! I can’t be more thrilled to have it on hand. Plus, making it was a fun (and quick!) science experiment. I highly recommend it! When the cream shifted into butter and buttermilk, Jordan could hear me shouting from the kitchen, “It worked! It really worked!” I’m also pretty happy to have a back-up plan for the next time I over-whip whipped cream. Lastly, the garlic herb butter was terrific on bread at dinner. The garlic flavor was strong so if you don’t love garlic like we do, scale back a bit. Homemade butter is the best!

-Emily