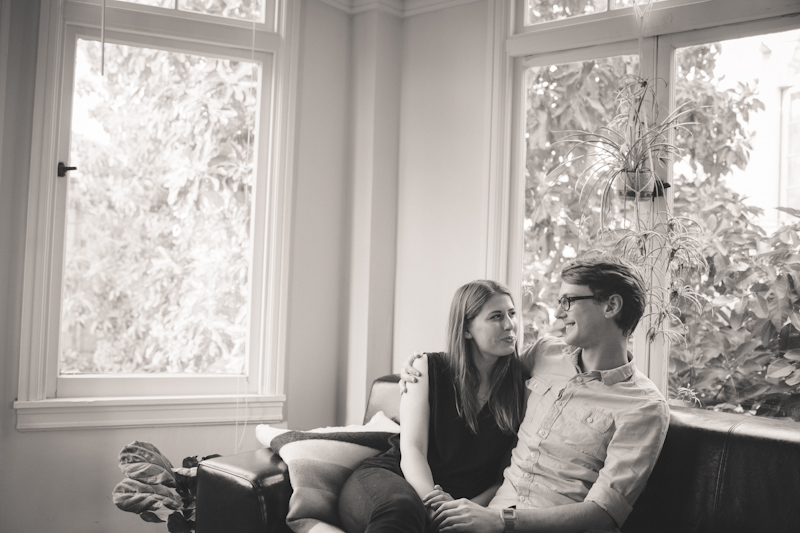
Josh and Erin are good friends. The kind of friends who will happily share a wave with you, help you get a new job when you need one, encourage your best/worst poetic ramblings or punny jokes, refuse to bat an eye when your anxious dog pees on their carpet, and make you a damn good cocktail. Good souls with generous hearts.
This cake is was made to celebrate their marriage, and I’m honored I was asked to make it. I love how special and celebratory a cake feels once you’ve stacked a few layers up, one on top of another, and covered it in buttercream. I also love that Erin is the type of friend who intentionally crafts her emails as to not stifle creative confection expression. The title of this post, that is all Erin, a writer with far more talent than I possess.
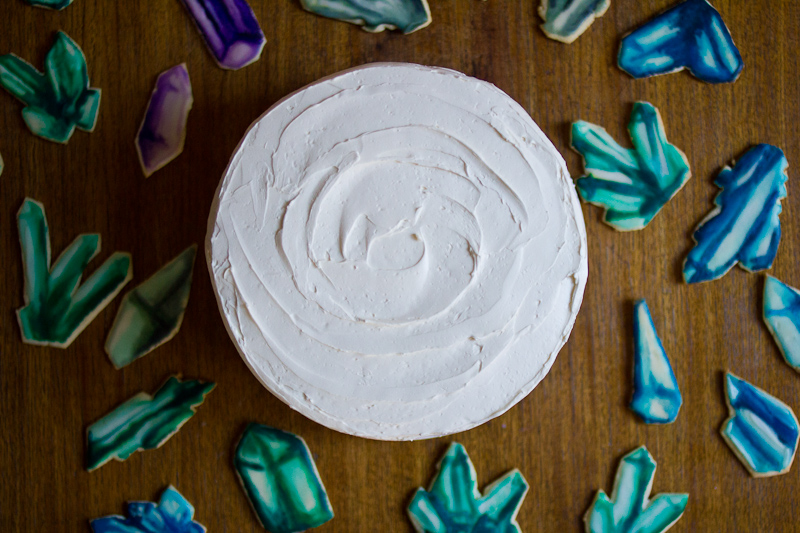
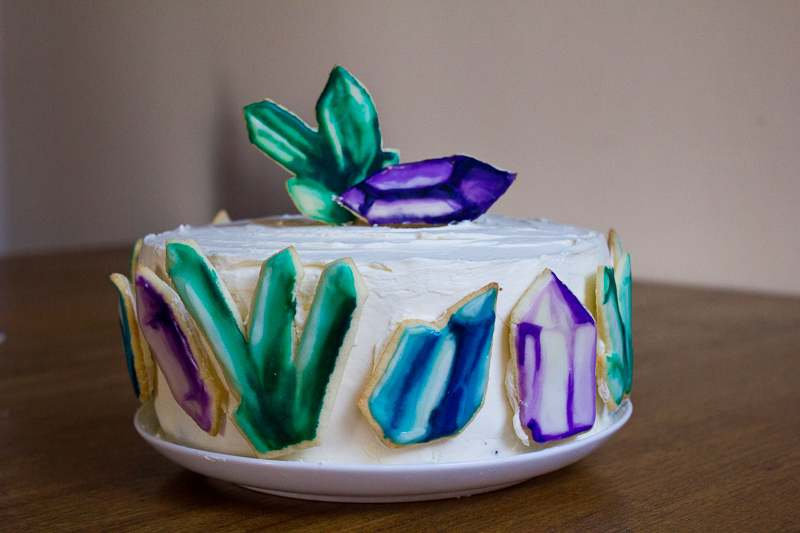
Lately, Erin and I have been jokingly/seriously channeling the vibes of various crystals to improve our attitudes and our surfing, and so I thought it only fitting to decorate their wedding cake with a few crystalline beauties. Who doesn’t want good vibes as they transition from one life phase into the next? Not to mention, the natural geometry of crystals is just as stunning as that of flowers, but far better suited to this couple.
I doubt anyone will re-create this cake from my recipe, since really, it is cake meant for only two people on this beautiful, mysterious rock, but I’m pretty proud of it from both culinary and artistic standpoints, and so I’m sharing it here. It feels good deep in the soul to make something special for friends, something to celebrate the magic that is finding another person who loves you for all your goodness and all your badness too.
Congratulations Josh and Erin, may your years together be filled with happiness, couples waves, and endless good vibes.
Good Vibes Wedding Cake
For the cake
This is Jordan’s favorite chocolate cake. It’s the cake that I make on birthdays, and the cake I’ll probably make for our wedding too. It’s an Ina Garten recipe that we’ve adapted slightly over the years.
Butter, for greasing the pans
1 3/4 cup flour
2 cups sugar
3/4 cup cocoa powder
2 t baking powder
1 t baking soda
1 t kosher salt
1 cup buttermilk
1/2 cup vegetable oil
2 eggs, at room temperature
1 cup freshly brewed hot coffee
Preheat the oven to 300° F. Butter the cake pans and line with parchment paper, then butter parchment and dust with flour.
Sift the dry ingredients into the bowl of a mixer fitted with the paddle attachment. Stir to combine. Combine wet ingredients in another bowl. With the mixer on low, slowly add the wet ingredients to the dry. Add the coffee.
Pour into prepared pans and bake for 35 – 40 minutes. Cool in the pan for 15 minutes, then invert onto a rack to cool completely. Wrap in plastic wrap and freeze.
For the vanilla swiss buttercream
Make the buttercream just before you plan to assemble the cake. You can refrigerate the assembled cake for a day or two, just it come to room temperature before serving.
1 cup sugar
4 large egg whites
26 tablespoons butter, softened (3 sticks plus 2 tablespoons – hell yes it is a lot butter)
1 teaspoon vanilla extract
Whisk egg whites and sugar together in a big metal bowl over a pot of simmering water. Whisk occasionally until you can’t feel the sugar granules when you rub the mixture between your fingers.
Transfer mixture into the mixer and whip until it turns white and about doubles in size. Add the vanilla. Finally, add the butter a few tablespoons at a time and whip, whip, whip. Don’t freak out if the frosting looks soupy, just keep whipping. It will come together gloriously, it just takes a while. Set the frosting aside, leaving it at room temperature.
For the decorative cookies of a minerally, gemstoney persuasion
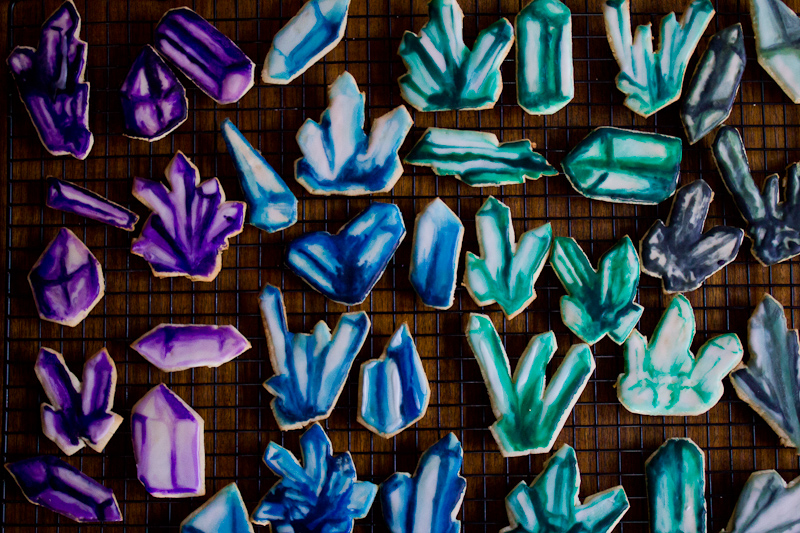
This is my Nonnie’s recipe for christmas cookies. They are simply the best. The frosting is a simple royal icing (powdered sugar + milk) colored to varying shades of blue, purple and green with different amounts of food coloring. We used an ice cube tray to create our color pallet, which I must say was a stroke of genius on my part.
1/2 cup butter, softened
1 cup sugar
1/2 teaspoon vanilla
1 egg
1/2 teaspoon salt
2 teaspoons baking powder
2 cups flour
Beat the butter until it is light and fluffy. Add the vanilla and sugar and cream together for a few more minutes. Add the egg. In another bowl, sift together the salt, baking powder and flour. Add flour mixture into the butter mixture and stir until combined. Divide into two balls, flatten into discs and refrigerate for 4 hours or overnight.
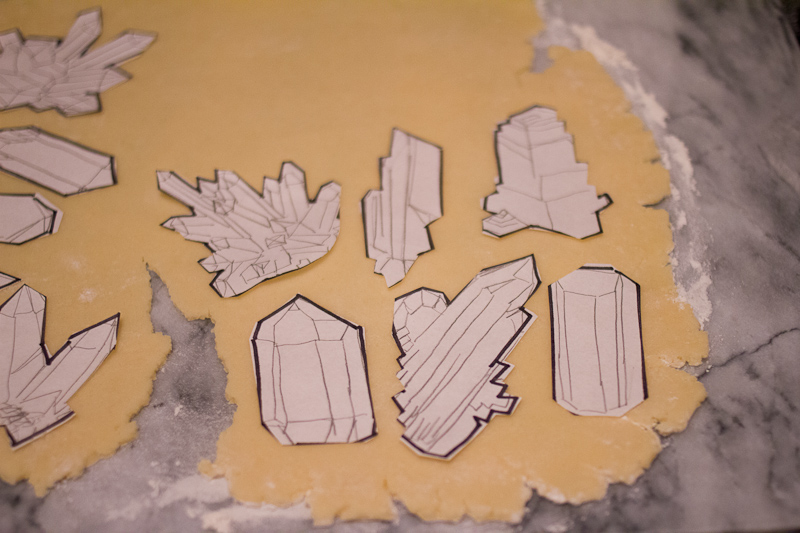
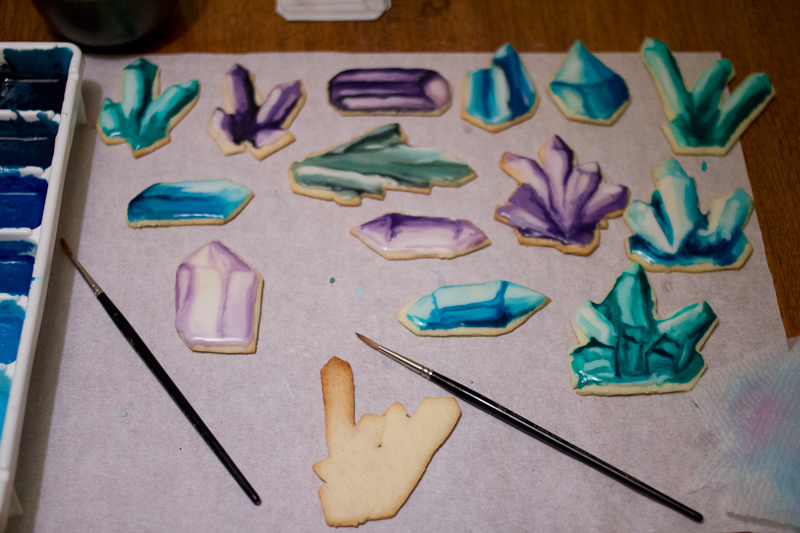
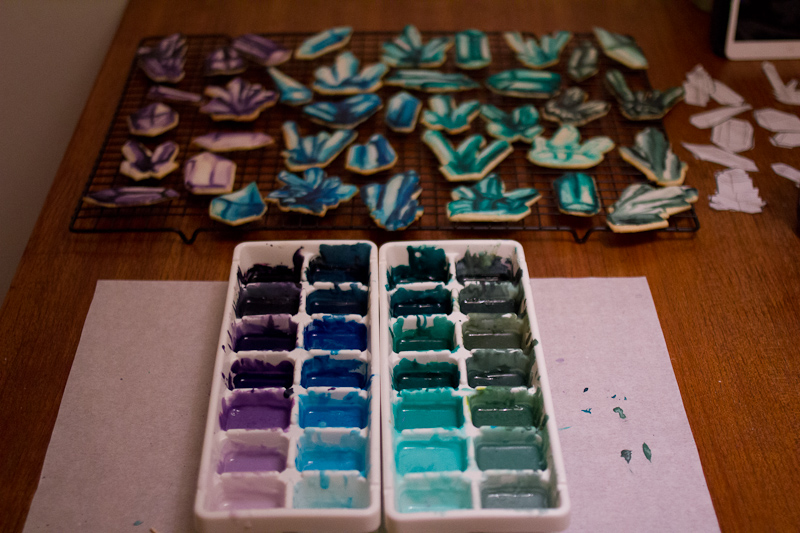
Roll out into 1/4″ thickness and cut out your gems. To make the crystal shapes, I drew several different crystals on paper, cut out the drawings, laid them out on the dough and cut around them with a sharp paring knife. Bake at 400° for 6 – 8 minutes.
For the cookie icing
4 cups powdered sugar, sifted
a few tablespoons milk
food coloring
Let the cookies cool and then frost them with the icing, whatever color pallet suits you. Make the cookie decorations the day before you plan to assemble the cake so they have time to set up.
To assemble
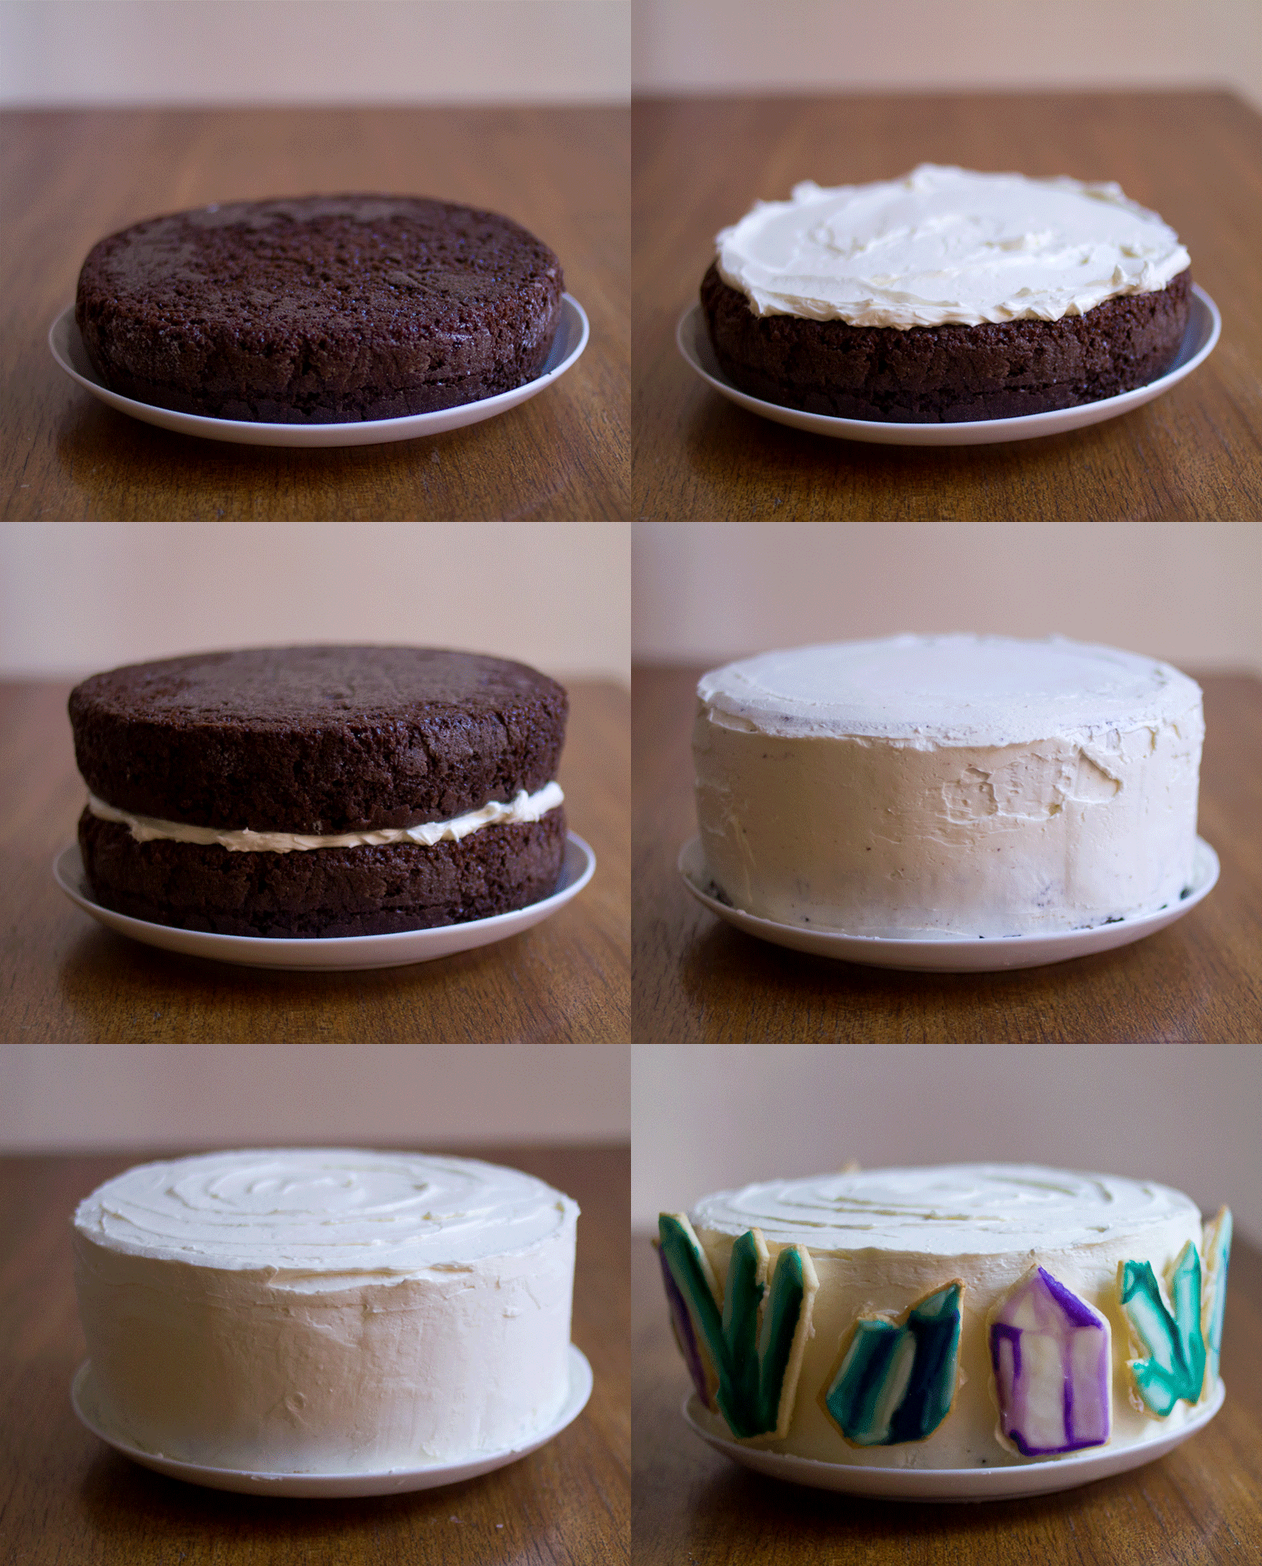 Store the cake in the freezer before you frost it. This will make the frosting process much simpler. Remove from the freezer and place one round on an appropriately-sized plate. Spread the top with a decent layer of buttercream. Top with the other half of the cake. Spread the entire cake with a thin, but even layer of frosting. It’s ok if it isn’t perfect. This is the crumb coat. Put it back in the freezer.
After 10 minutes, remove your cake from the freezer. Coat with another layer of icing. Dip your spreading knife in a glass of hot water, quickly dry it off and use the hot knife to smooth the frosting, or leave some texture, up to you. Use the remaining buttercream to attach the cookie decorations. Store in the fridge, but let the cake come to room temperature before serving. Enjoy the cake and all the good vibes that flow from it!
And a special thank you to my friend Kelly, who lent both her paintbrushes and her artistic expertise to this endeavor.
Xo, Emily







 Store the cake in the freezer before you frost it. This will make the frosting process much simpler. Remove from the freezer and place one round on an appropriately-sized plate. Spread the top with a decent layer of buttercream. Top with the other half of the cake. Spread the entire cake with a thin, but even layer of frosting. It’s ok if it isn’t perfect. This is the crumb coat. Put it back in the freezer.