Categories
Recipes

Christmas Cookie Day 2015

Cookie Day is certainly up there as one of my favorite food days of the year. An epic day of baking, decorating and mimosa-drinking, hundreds of cookies are made and slightly fewer are consumed. The apartment gets covered in flour and we find sprinkles scattered on the floor for days afterward.

christmas-cookies-2015-12

This year featured some old favorites and a few new recipes too. Most are detailed or linked to below. I’m hoping to check back in here before the holidays with some photos from Japan, but just in case I don’t make it, Jordan and I wish you a peaceful and joyful holiday.
christmas-cookies-2015-2-combo christmas-cookies-2015-10christmas-cookies-2015-5-combo christmas-cookies-2015-8

Granny’s Sugar Cookies, from Nonnie
1/2 cup butter, softened
1 cup sugar
1/2 teaspoon vanilla
1 egg
1/2 teaspoon salt
2 teaspoons baking powder
2 cups all-purpose flour

Beat the butter until it is light and fluffy. Add the vanilla and sugar and cream together for a few more minutes. Add the egg. In another bowl, sift together the salt, baking powder and flour. Add flour mixture into the butter mixture and stir until combined. Divide into two balls, flatten into discs and refrigerate for 4 hours or overnight. Roll out into 1/4″ thickness and cut with cookie cutters. Bake at 400° for 6 – 8 minutes. These babies cook fast so set a timer!

For the icing
4 cups powdered sugar, sifted (trust me, it will save you time in the end)
a few tablespoons of milk
food coloring

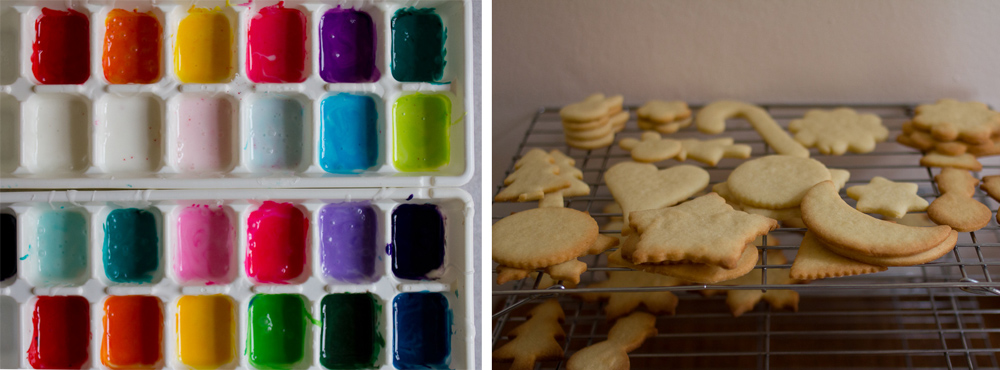
Sift the powdered sugar into a large bowl. Start with 3 tablespoons of milk and whisk together. It will be a big sugary clump. Add a tablespoon of milk at a time, until you get a smooth icing. Careful though, you don’t want it to be so runny or it will run off the cookie.  Divide into as many small bowls or cups as colors you’d like to make and add the food coloring. This year’s innovation was using an ice cube tray so we could have lots of colors! I’d recommend getting a pack of cheap paint brushes so you can get real precise with your icing.

IMG_7995christmas-cookies-2015-7

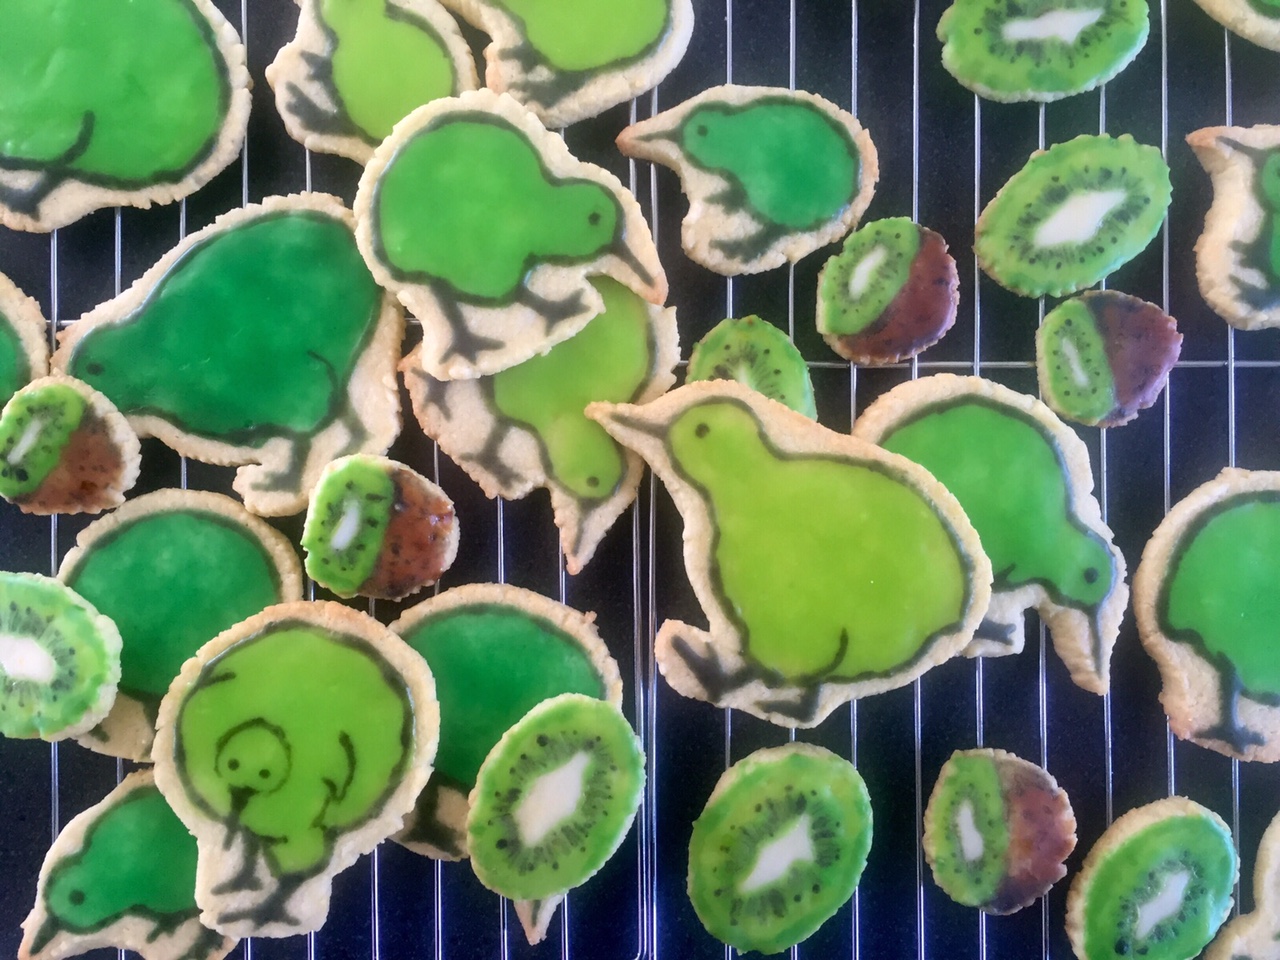
Our friend Kelly, a true cookie artisan, and her husband Russ have relocated to New Zealand, but they joined in on the fun from afar, contributing these kiwi masterpieces! We miss them everyday, but especially on Cookie Day. Here in the Northern Hemisphere, things got a little crazy towards the end of the day and we decided to take a page from Jackson Pollock’s book.
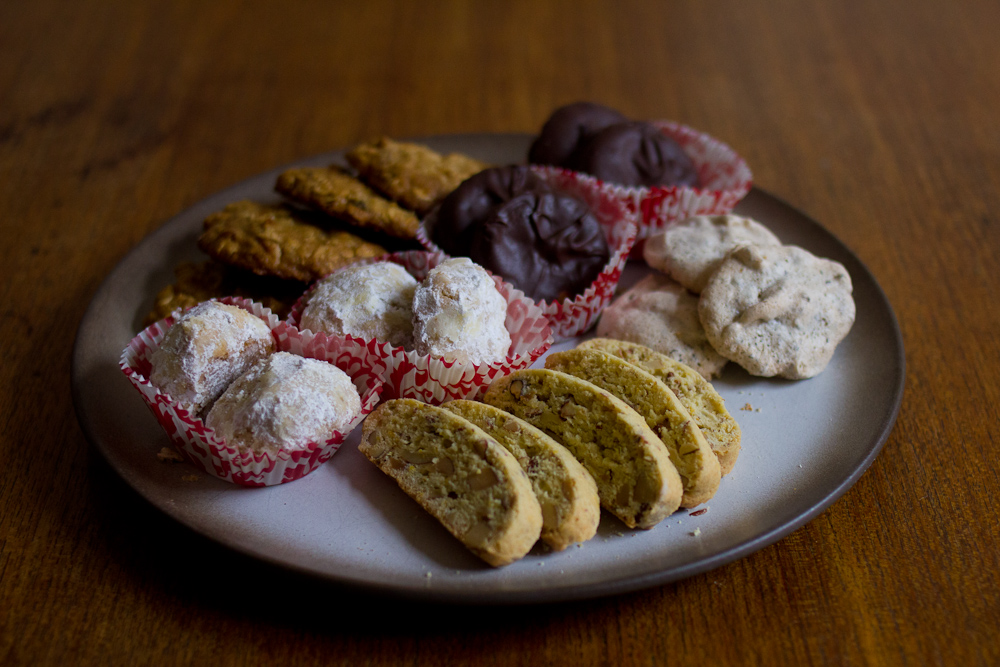
christmas-cookies-2015-11

Biscotti with Fennel Seed and Orange, adapted from the Zuni Cafe Cookbook
3/4 cup almonds
4 tablespoons butter, cold
1/2 cup plus 2 tablespoons sugar
1 large cold egg
1 teaspoon vanilla extract
1 1/4 cup all-purpose flour
2 tablespoons fine cornmeal
1 teaspoon baking powder
1/2 teaspoon salt
1 1/2 teaspoons fennel seeds, chopped finely

Preheat your oven to 325 degrees F. Roast the almonds on a baking sheet until light brown and fragrant, about 15 minutes. Finely chop 1/4 cup of the nuts, and coarsely chop the remainder. Pour into a medium bowl. Add the flour, cornmeal, baking powder, salt and fennel seeds and mix to combine.

In a medium bowl, barely beat the butter and sugar together. Add the egg and vanilla, and beat to combine. Add the flour mixure to the butter mixture and mix until combined.

On two piece of plastic wrap, divide the dough in two and shape into a long, about 2 inches wide by 3/4 inch tall by 8 inches long. Wrap in plastic wrap and refrigerate for a few hours or overnight.

Preheat your oven 325 degrees F. Place the logs a few inches apart on a baking sheet lined with parchment. Bake for 20 to 25 minutes, until the log is lightly browned and puffing up a bit. Remove from the oven and with a very sharp knife, slice the biscotti into thin slices, about 1/2 inch thick. Return to the baking sheet, turn them onto their sides and bake an additional 5 minutes more.
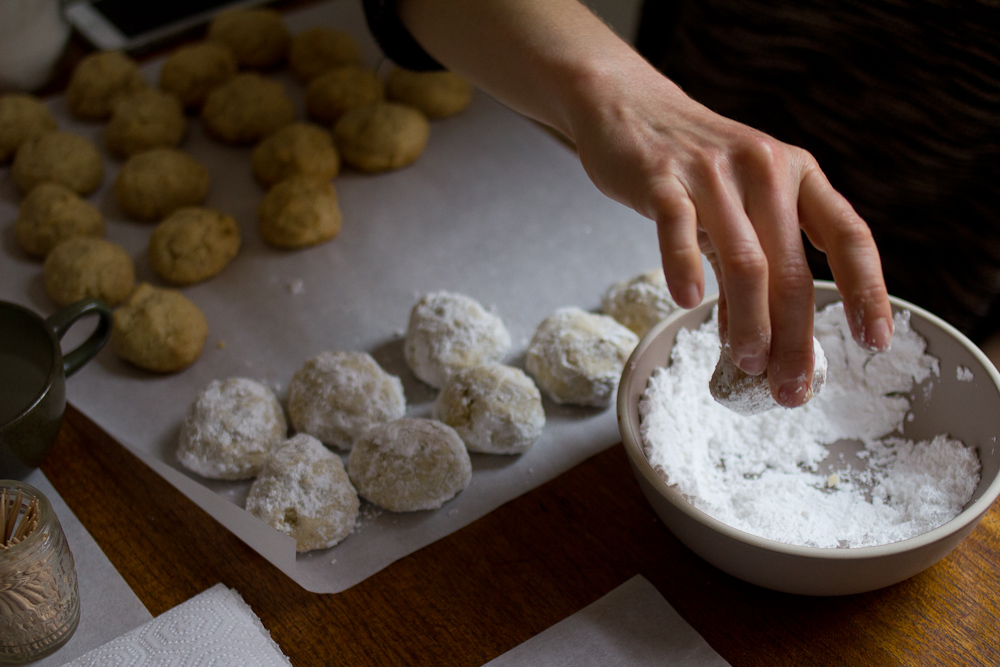
christmas-cookies-2015-1

Mexican Wedding Cookies, our friend Jessi’s family recipe
1 cup butter, softened
1/4 – 1/2 cup sugar
1/2 teaspoon salt
2 teaspoons vanilla
2 cups all-purpose flour, sifted
1 cup freshly ground almond flour
powdered sugar for dusting

Preheat your oven to 325 degrees F. In a food processor, grind 1 cup of fresh, raw almonds until they are very finely chopped, a coarse flour-like consistency.

In the bowl of your mixer, cream together the butter and sugar until light and fluffy. Add the vanilla and mix a bit more. Add the flour and almond flour. Roll into 1 inch balls.

Bake on a parchment lined cookie sheet for 12-15 minutes, until lightly browned. Roll in powdered sugar.

Oatmeal Raisin Cookies, our friend Robin’s family recipe
1 cup all-purpose flour
1 tsp baking powder
1/2 tsp baking soda
1.2 tsp salt
2 tbsp butter
1/4 cup apple sauce
1/2 cup sugar
1/2 cup light brown sugar
1 egg
1 tsp vanilla
1 1/3 cups rolled oats
1/2 cup raisins

Preheat oven to 375 degrees F. Line a cookie sheet with parchment paper, or lightly spray with cooking spray. In large bowl, mix flour, baking powder, baking soda, and salt. In a separate bowl, whisk together butter, apple sauce, sugars, egg, and vanilla until the butter breaks down into pea-sized pieces. Add flour mixture to apple sauce mixture. Mix well. Fold in oats and then raisins. Drop rounded teaspoonfuls onto cookie sheet two inches apart.

Bake for 10-12 min. Remove from oven and cool on cookie sheet for 5 min. Remove and place on cooling rack.
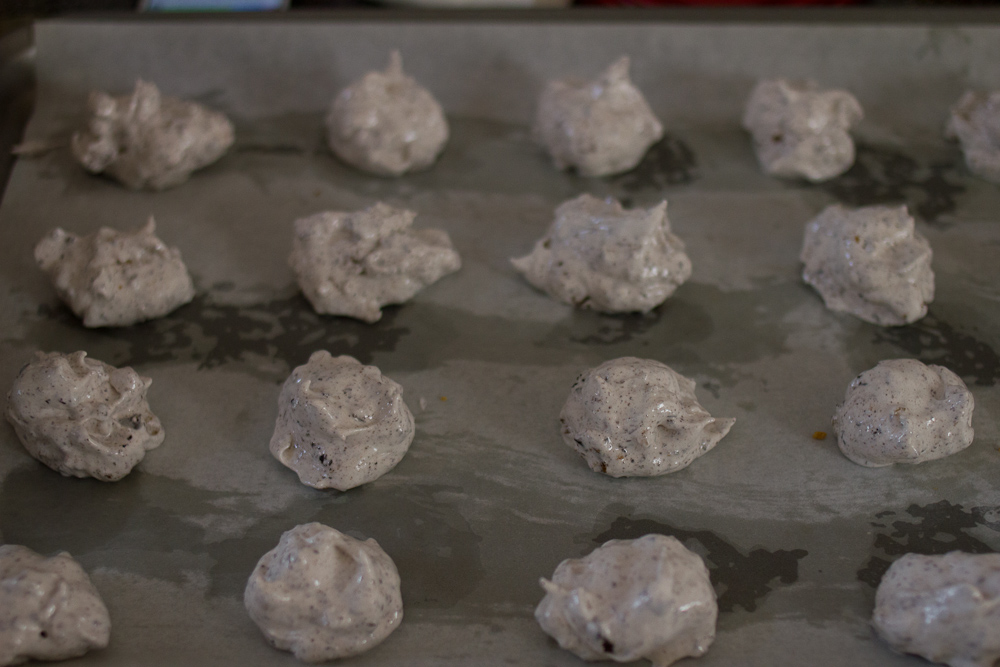
christmas-cookies-2015-3

Mom’s Chocolate Chip Meringues, from Smitten Kitchen
Using just two egg whites, some sugar and some chocolate, these cookies are pretty amazing! Crunchy on the outside, super chewy on the inside with just a hint of chocolate,  they look like cookies and cream ice cream and are nearly as good.

Chocolate Covered Peanut Butter Ritz Sandwiches, from Spoon Fork Bacon
We swapped the milk chocolate for dark. Make sure to pop these babies back in the freezer after dunking in chocolate, especially if you’ve got a tiny kitchen and hot oven on for hours.

-Emily

Categories
Recipes

nonnie’s russian teacakes

russian-teacakes-8

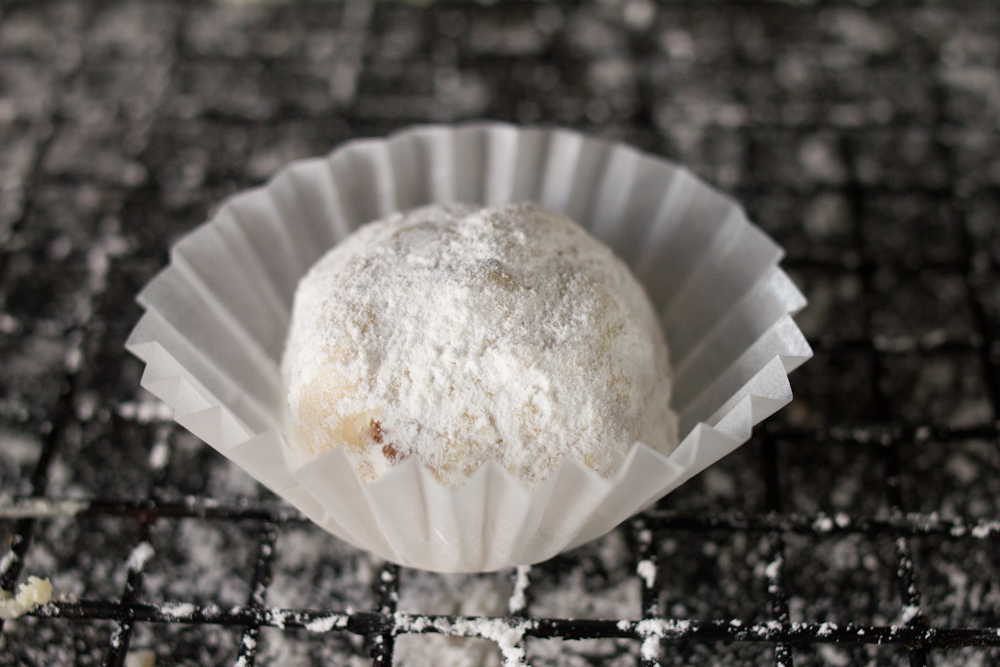
These are probably my favorite cookie. They are buttery, just the right amount of sweet, as perfect with coffee as they are with a glass of milk. The recipe is my Nonnie’s, and she always makes sure to have a tin of them ready when I go over to visit.  Food just tastes better when someone makes it for you, especially if that person knows their way around a stick of butter like my Nonnie.

I usually have an acceptable level of self-control in regards to the desserts I make, but restraint is nearly impossible with these cookies. These cookies are are my kryptonite. Whenever I make them, or am lucky enough to snag a tin from the master herself, I force myself to ration them to make them last as long as possible. One for breakfast with coffee, two for dessert. Tin kept under lock and key. Trust me, it’s tough to not plow through the entire batch in a day or two. I ate the last one out from under Jordan’s nose and didn’t feel even the slightest tinge of remorse. That is how much I love these cookies.

Because they are a family specialty and because they are my favorites, I thought it only fitting to go all out for the Great Food Blogger Cookie Swap and send these to three lucky ladies, Rebecca, Laura and Willow.

russian-teacakes-13

Nonnie’s Russian Teacakes
1 cup (2 sticks) butter, softened
1/2 cup powdered sugar, sifted
1 tsp vanilla extract
2 1/4 cup all-purpose flour, sifted
1/4 tsp salt
3/4 cup pecans, finely chopped
powdered sugar, for rolling in after baking

russian-teacakes russian-teacakes-2

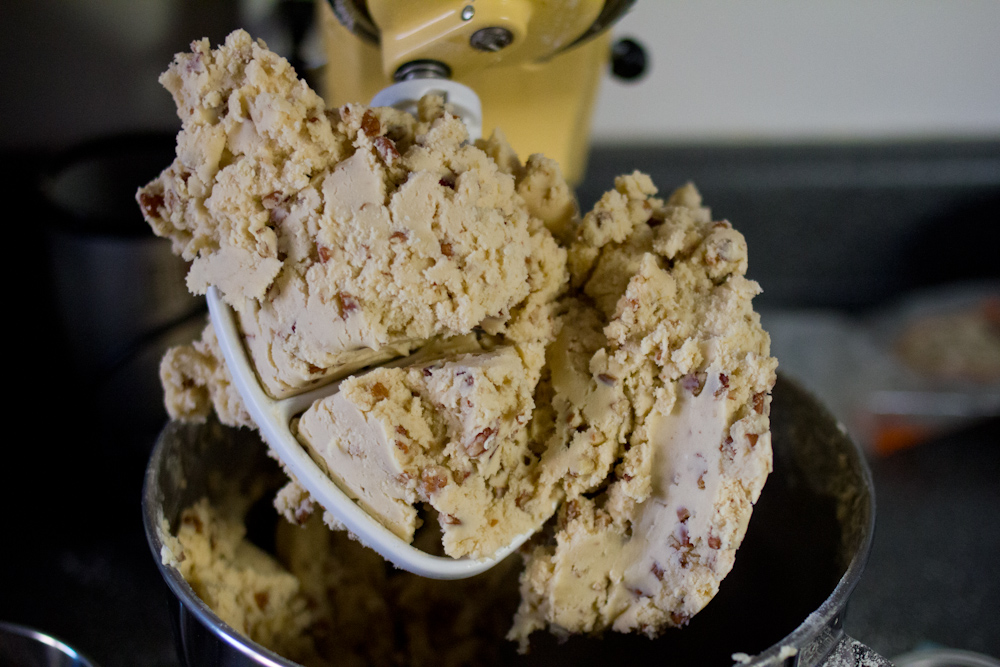
Beat the butter until light and fluffy. Beat in sifted powdered sugar and vanilla until well combined. Sift in flour and salt. Add pecans. Mix until a crumbly dough forms. Refrigerate for at least four hours, preferably overnight.

russian-teacakes-6russian-teacakes-5

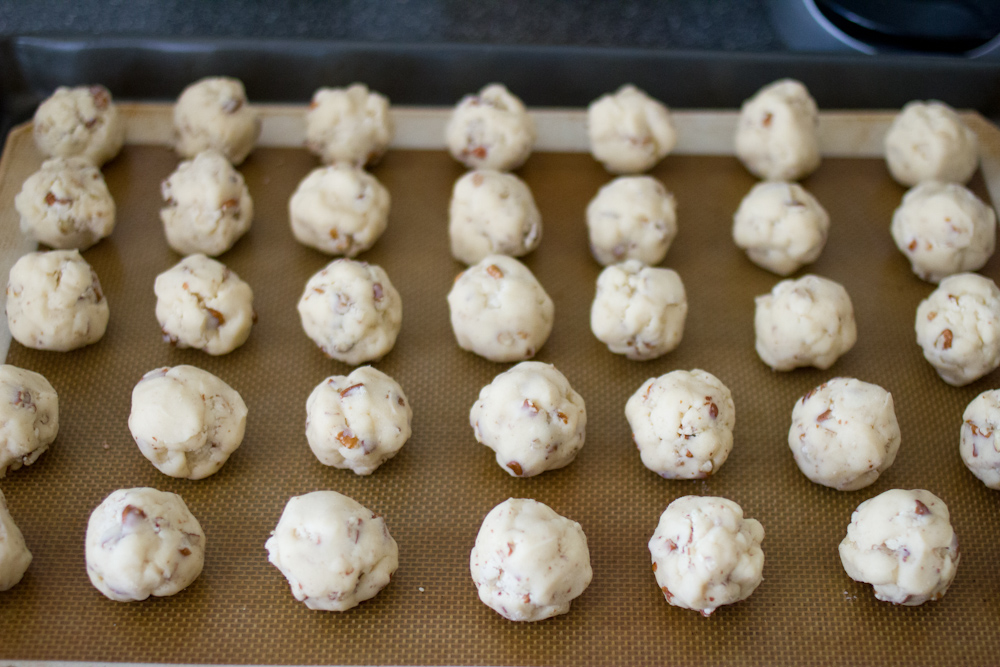
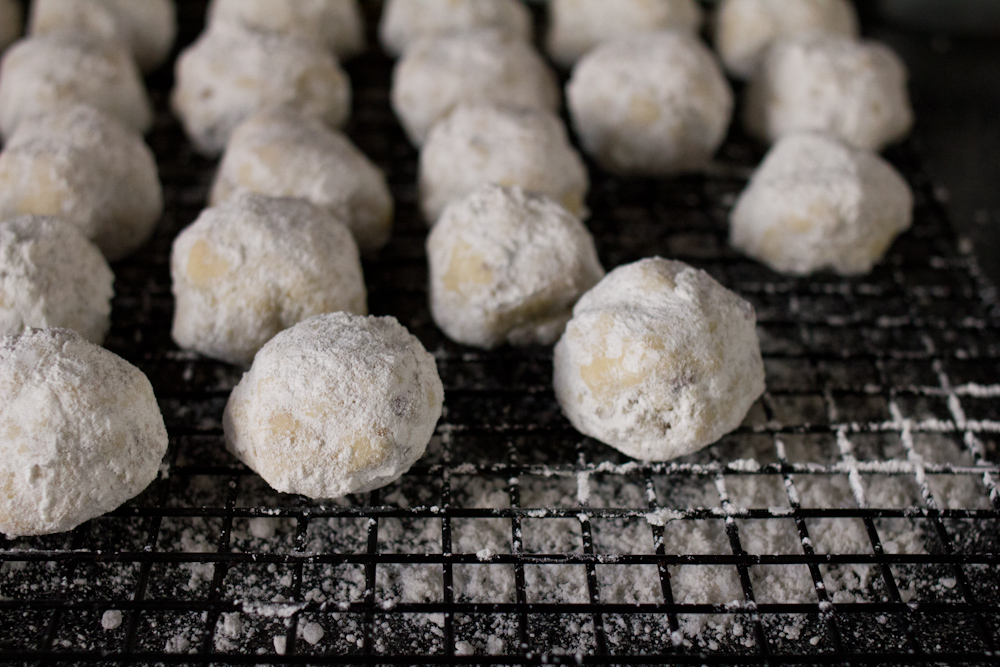
Preheat your oven to 400° F. Roll dough into 1″ balls. Bake 12 – 14 minutes, until they are just starting to be a bit golden around the bottom. Roll in powdered sugar while hot. Let cool completely and roll again in powdered sugar.

russian-teacakes-7russian-teacakes-10

My Nonnie is an amazing cook. She rocks pot roast, turkey stuffing, crab cakes, berry pie, biscotti, not to mention her famous cheesecake, like nobody’s business. My russian teacakes couldn’t hold a candle to Nonnie’s until very recently, but my dedication to the art has paid off.  My secrets are revealed in this little puppet below. Watch it and learn how to make your cookies *almost* as good as Nonnie’s!

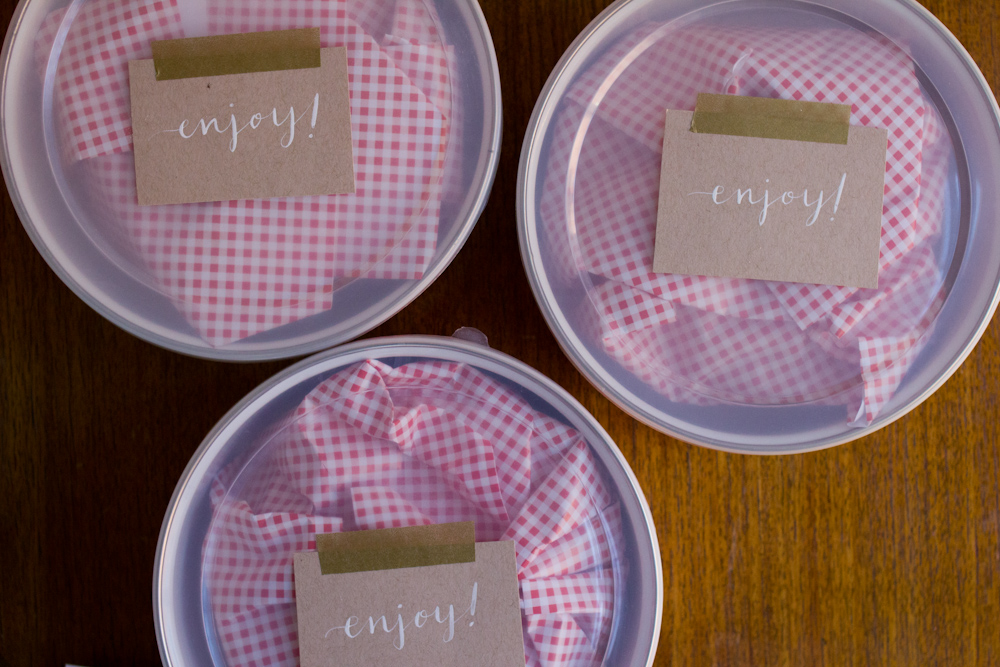
Packing cookies for transport is a serious thing. And serious things usually require a trip to Daiso, the Japanese version of the dollar store and one of my favorite places in San Francisco. There I picked up some adorable tins, mini cupcake papers and gingham wrapping paper—all in the interest of making sure my cookies arrived unharmed and as adorable as they are delicious. Once cooled, cookies were placed in tins, recipes were written up, and I packed the mailing boxes chock full with crumpled pages of an unread Vogue magazine to ensure my cookies didn’t get to jostled on their journey. Priorities.

russian-teacakes-4russian-teacakes-9russian-teacakes-12russian-teacakes-14russian-teacakes-15

And now that I’ve exhausted you with all kinds of adorable, you really should make these cookies this holiday season.

-Emily
russian-teacakes-17

Categories
Recipes

how to make perfect french macarons

I’m the type who likes projects. While I enjoy cooking dinner each night for my little family and our friends, what really gets me excited is a new project. I like the research phase at the start of a project and the challenge of stepping up my game and out of my comfort zone. And I love the satisfaction of making something I’ve never made before, especially if it turns out right. I also love losing myself in a project, letting my worries slip away for a few hours and focusing in on the task at hand. It’s why I started cooking in the first place and probably why I’ll never stop. These projects are freeing for an overactive worrier like myself. My mind gets a break, and in the end, I usually have something delicious to show for it.

french-macaron-17

I decided to try my hand at french macarons last weekend. I had a free day, no plans at all. After a pep talk from Jordan the day before, it was settled and the research commenced. I read lots of recipes, read horror stories of macarons gone awry, read encouraging posts assuring me that it wasn’t nearly as hard as everyone claimed.

I’m happy to say, this will be one of those encouraging posts. It really is not as hard as you’d expect. Yes, precision is necessary and some understanding of a few key techniques is helpful, but if you’re mindful, you can make perfect a french marcaron the first go round.

french-macaron-16

The recipe I used is from a wonderful pastry blog Brave Tart. I’m positive her recipe and tips are the reason my macarons were a success the first time around. Thank you Stella!

French Macaron with Vanilla, Passionfruit or Blackberry Buttercream, adapted from Brave Tart
For the cookies
4 oz | 115 grams almond meal or almond flour (you can also grind blanched almonds in a food processor until powdery)
8 oz | 230 grams powdered sugar
5 oz | 144 grams egg whites
2.5 oz | 72 grams sugar
1/2 teaspoon | 2 grams kosher salt
the scrapings of 1 vanilla bean or 2 teaspoons vanilla extract

First, before we get into how to make the recipe, let’s talk about measuring the ingredients. Measurements by volume (cups, teaspoons, etc) are a bad idea for delicate pastry. Really, we all should always bake by weight and never volume because there can be such huge discrepancies between how each person measures one cup. There are also other intervening factors like humidity that can throw volume measurements off. So save yourself some macaron grief, and get a kitchen scale. Measuring ingredients by weight is not only more accurate, but I’m sure you’ll find that it is actually faster and easier.

Preheat your oven to 300 degrees. If you have an oven thermometer, put it in the oven to double check the temperature. If your oven is too hot, your cookies will cook unevenly or their shells will crack and crumble as they rise. Move both racks towards the center of your oven to ensure the cookies get the most even heat. See what I mean about precision? Not overwhelmingly difficult, but necessary.

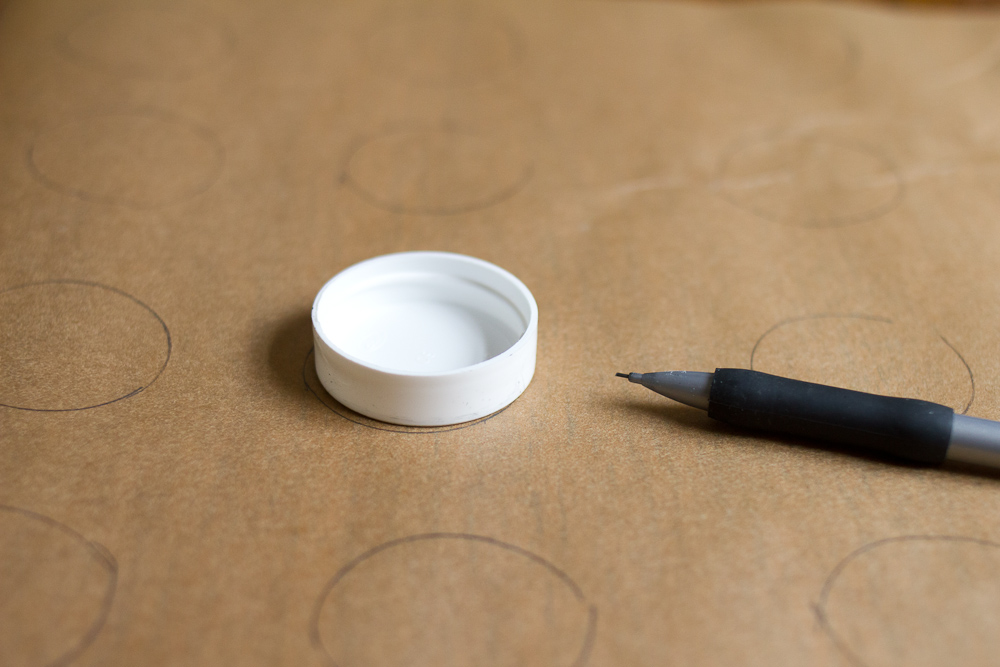
Line baking sheets with parchment paper. I traced 1.5″ circles on my parchment paper so that I would have something to trace when I piped the cookies onto the sheet. It’s important that the cookie shells are all about the same size because you sandwich two together.

french-macaron-1

Insert a plain round tip into a pastry bag. This is for piping the macarons onto the baking sheet.  Here are some great tips on how to easily fill a pastry bag if the task seems daunting.

Sift together the almond flour and powdered sugar into a medium bowl. You’ll have a spoonful or two of little almond granules that are larger than the rest and don’t sift through, just discard those. Separate your egg whites from the yolks. Put your yolks in the fridge and save them to make pastry cream for a raspberry napoleon.

In the bowl of your mixer, combine egg whites, sugar, vanilla bean (not the extract if you’re using that) and salt. Mix on medium power (4 on a Kitchen Aid) for three minutes.

french-macaron-3

Increase the speed to medium-high (7 on Kitchen Aid) and whip for another three minutes.

french-macaron-4

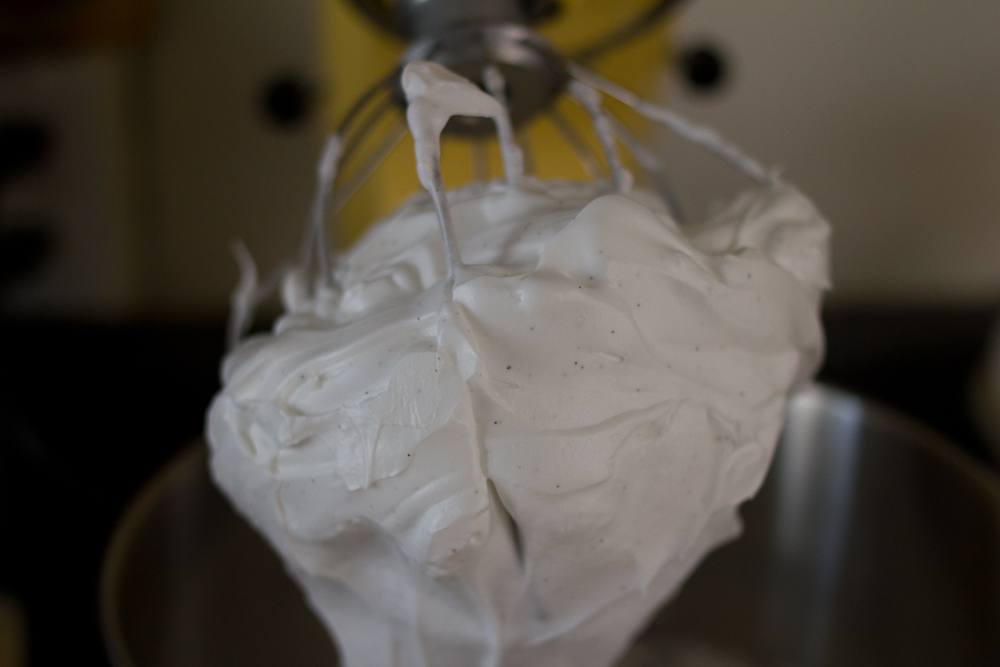
Increase the speed to high (8 on Kitchen Aid) and whip for another three minutes.  Turn the mixer off and add any extracts or colors here. Whip on high for another minute to incorporate. The mixture should look like a very stiff, dry meringue and should clump inside the whisk. If it isn’t very stiff, beat for another minute or two until it is. Aren’t the vanilla bean flecks just the cutest!

french-macaron-5

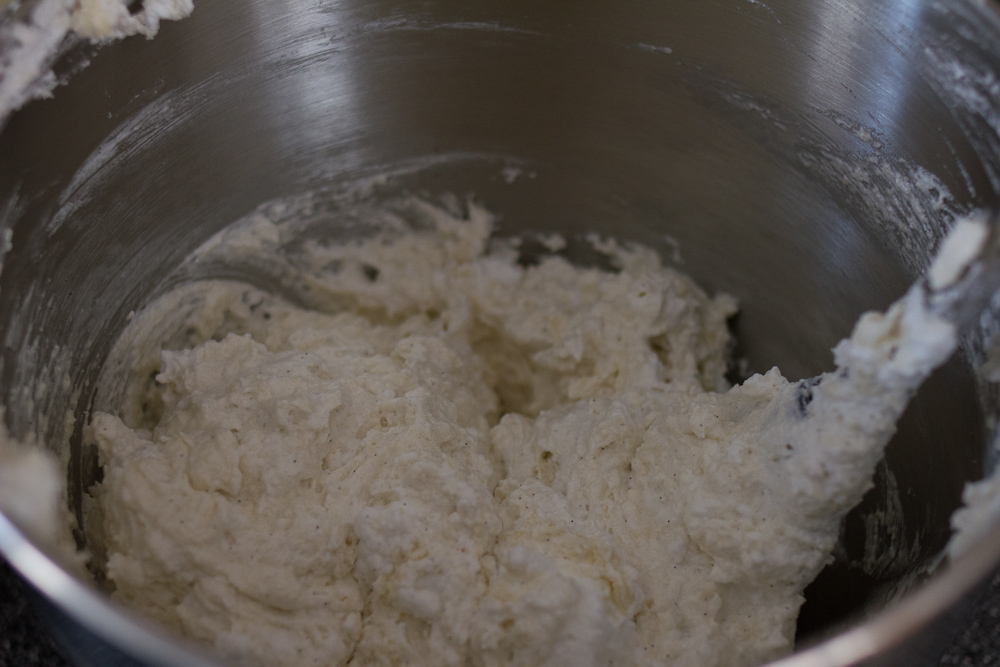
Add the almond flour and powdered sugar to the meringue.  Using a large spatula, fold the dry ingredients into the meringue. It will take quite a while to fully incorporate. The purpose of this step is to deflate the meringue so don’t worry about knocking it around a little bit.

french-macaron-7

Stella’s recipe was astoundingly accurate for me. She said it would take about 40 folds to incorporate the dry ingredients into the wet and get a good batter consistency and she was right. You want a batter that is thin enough to pipe, but not so thin it runs all over the baking sheet. She describes the texture as “molten” if that helps you. Mixing the ingredients thoroughly is important so be sure to scrape the sides the bowl several times while mixing. Streaks of unmixed meringue could also cause your cookies to crack in the oven.

french-macaron-8

Once your batter is mixed, spoon it into a pastry bag. I’d recommend you only fill the bag about two-thirds full and then tie the top with a rubber band. Make the piping easier on yourself, don’t overstuff the bag! With a 10″ pastry bag, I only had to refill twice. Not bad.

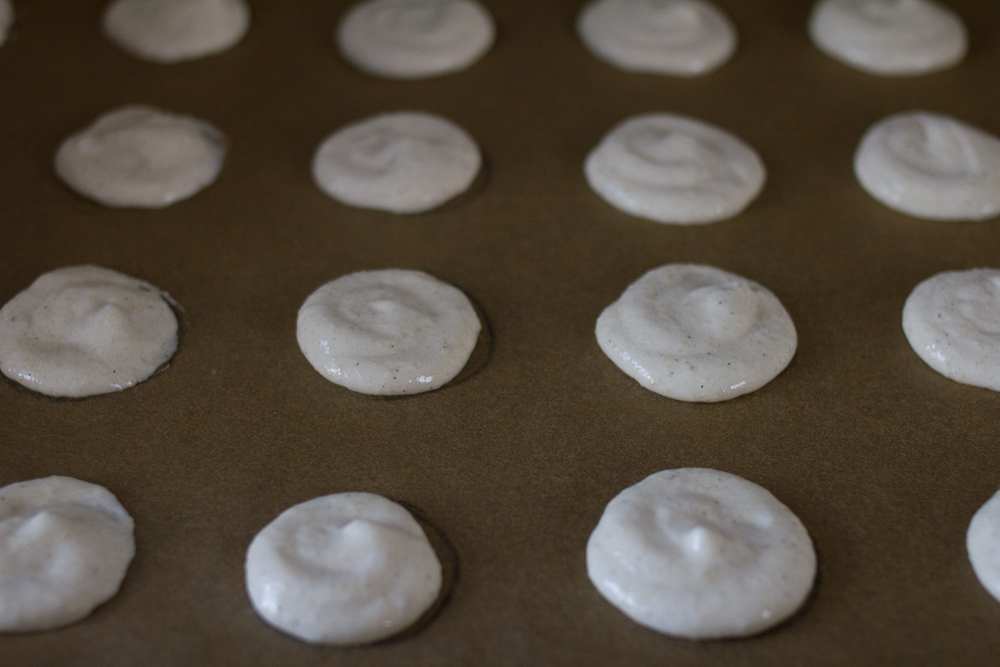
Pipe small circles onto your parchment lined baking sheet. Let the cookies sit for a few minutes on the counter to settle. Rap the trays hard on the counter several times. Don’t be shy about it.  This removes the air bubbles that could also cause your shells to crack in the oven. I didn’t rap my first batch with quite enough vigor and most of my cookies came out with cracked shells. While cracked shells do nothing to harm the flavor, take this easy step to avoid them. For my second batch, I hit the tray hard against the counter about 10 times taking care to rotate it 90 degrees for a few of the raps and the shells came out perfectly.

french-macaron-9

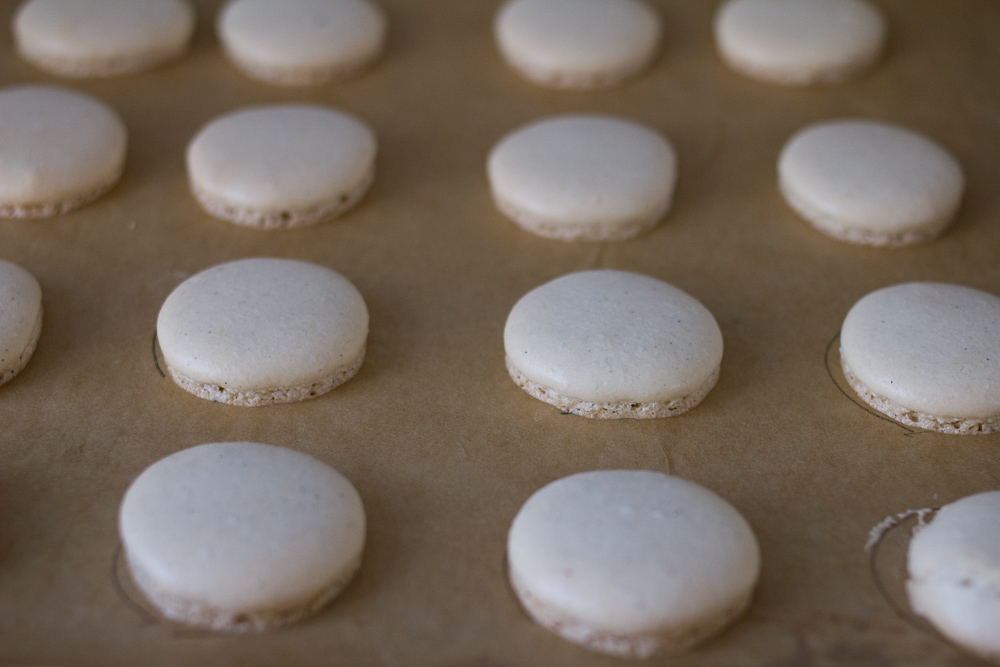
Bake the cookies at 300 degrees for 18 minutes. You should be able to peel the parchment away from the macaron without tearing out the center of the cookie. I’d test on a corner cookie before removing the sheet from the oven. Remove the cookies the oven and let them cool on the trays. Use a metal spatula to detach the cookies from the parchment after they are completely cooled.

french-macaron-11

Below you can see the difference between a perfect shell and a cracked shell. The top of the cracked shell will sort of crumble and collapse when you fill it with cream, while the good shell will remain intact. Both are delicious though so don’t dispair if your shells crack!

french-macaron-12

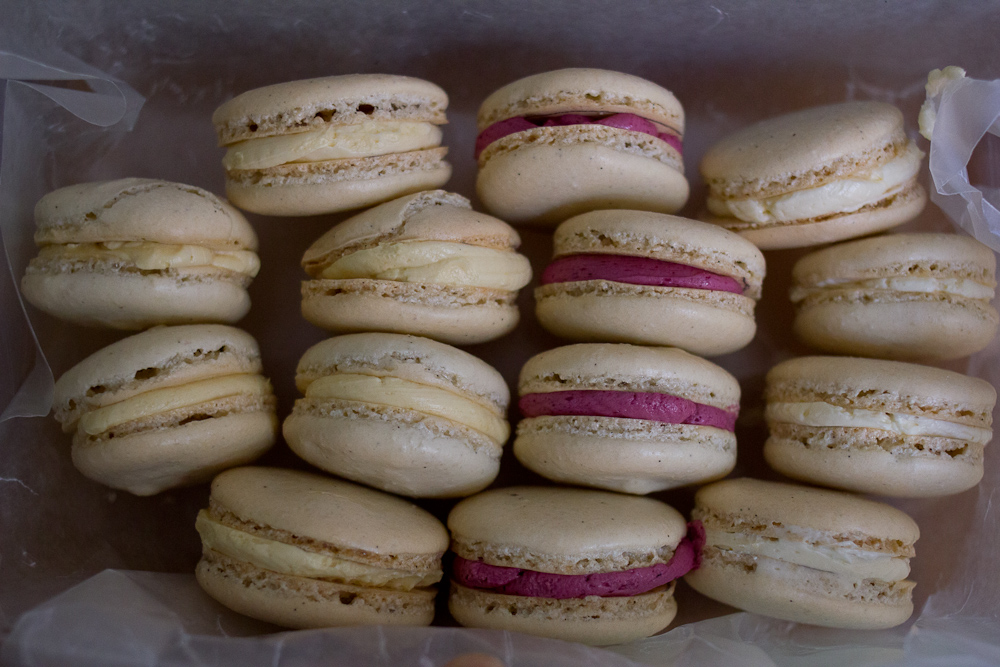
Once cooled, fill the macarons with the buttercream of your choice. I did vanilla, passionfruit and blackberry. All were divine!

For the filling
1/2 cup sugar
2 large egg whites
12 tablespoons butter, softened
1 teaspoon vanilla extract
a pinch of salt
3 tablespoons passionfruit syrup (mine was made from 4 oz of frozen passionfruit pulp and 1/2 cup sugar simmered together for 30 minutes and strained)
3 tablespoons blackberry syrup (mine was made from 4 oz of frozen blackberries and 1/2 cup sugar simmered together for 30 minutes   and strained of the seeds)

In a bowl over a pot of simmering water, combine the sugar and egg whites. Heat the egg and sugar mixture until you cannot feel the sugar granules when you rub the mixture between your fingers.  Transfer mixture into the mixer and whip until it turns white and about doubles in size. Add the vanilla. Finally, add the butter a few tablespoons at a time and whip, whip, whip. It will look like your buttercream is ruined for a few minutes. Don’t dispair! It will come together if you just keep whipping.

french-macaron-15

Once the buttercream is has been whipped into submission, put two thirds of it another bowl. To the remaining third, add the 3 tablespoons of blackberry syrup. Whip, whip, whip again until the syrup is incorporated. Remove that from the mixer, wash the bowl and whisk and then add another 1/3 of the frosting. Add 3 tablespoons of passionfruit syrup and whip whip whip!

Put the filling in a disposable pastry bag with a round tip. Pipe about a teaspoon of filling onto the flat side of the macaron cookie. Sandwich the cream between another cookie. Continue with the rest of the cookies, alternating fillings if you’d like.

french-macaron-13

The surprisingly truth about macarons? They only get more tasty as they age. While they are delicious the first day, they are insanely good on the second and third days once the cream and cookie have really melded together and become one. Store your cookies in a tupperware in the refrigerator, but let set them out for about an hour before serving to let the buttercream warm up a bit before you eat them. The texture is even more pleasant when you let them warm a bit.

french-macaron-14

I am absolutely stoked with how these came out. They were delicious—sweet but not overwhelmingly so. Their texture was incredible—a crunchy exterior that shatters when you bite into it revealing a creamy, chewy interior. The passionfruit filling was positively addicting. Plus they are adorable.  I’ll be making them again very soon.

-Emily

Categories
Giveaway

sucré macarons giveaway {closed}

Today is an exciting day! Today you have the chance to win these delicious cookies!

sucre-macaron-2

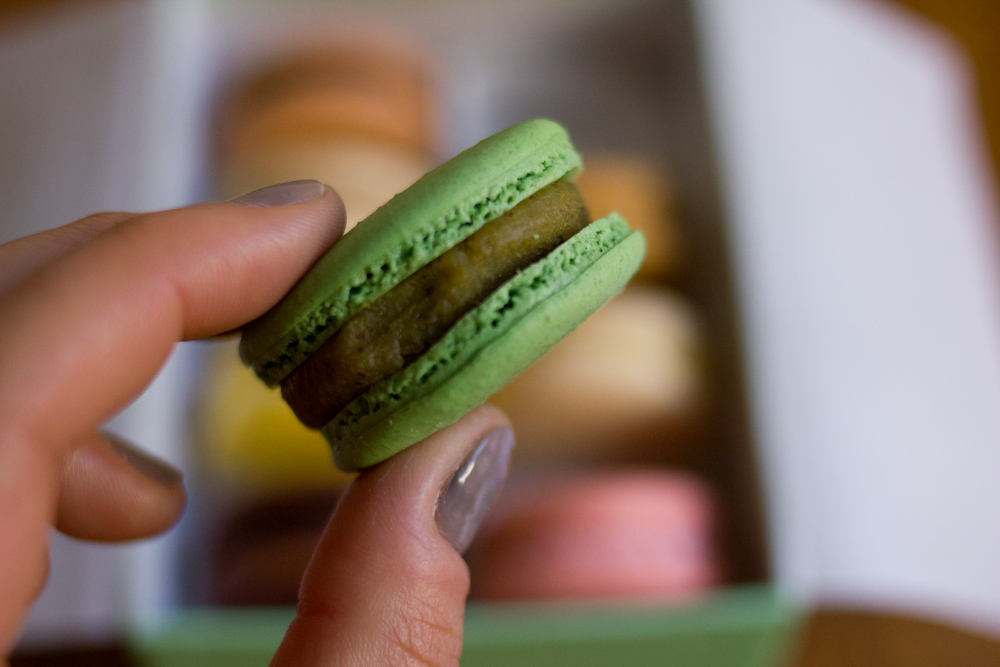
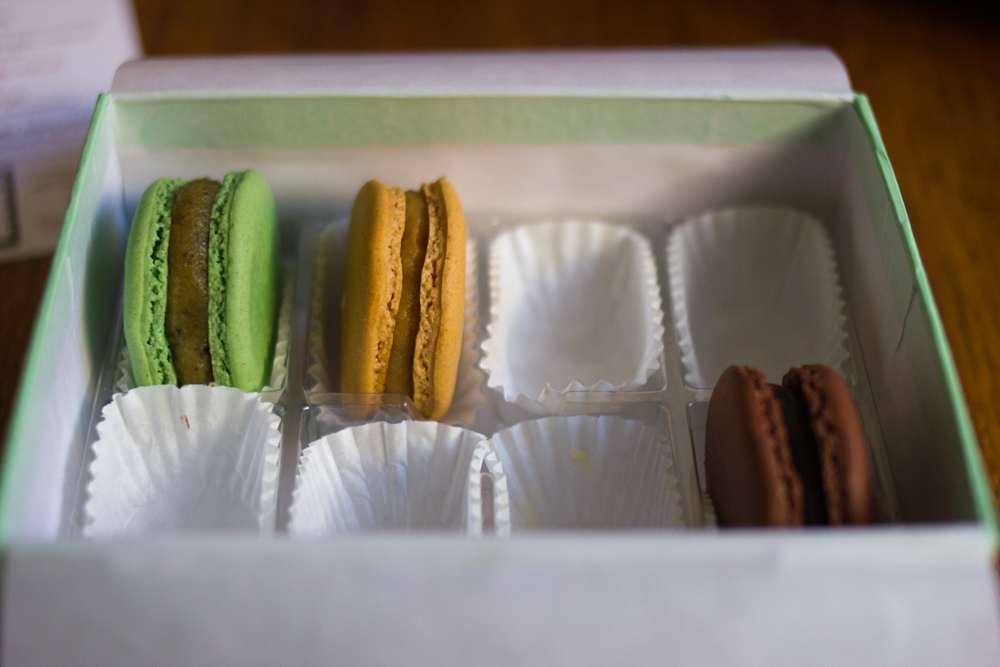
Before you think, “Dang, Emily, you’ve gotten so good at making delicate french pastries. And snap, that packing is impressive for a food blog,” I’ll clarify. I have yet to attempt the difficulties of the french macron—though the idea will eternally be bouncing around in my head. These beautiful macrons are from Sucré, an artisanal sweet boutique in New Orleans specializing in macarons and chocolates and glorious baked goods.

sucre-macaron-3

They kindly send Jordan and me a box of their delicious macrons, which we promptly devoured in one sitting. Our plan was just to have one as an after work snack before starting dinner, but these cookies are good—impossible to just have one good. I was a big fan of pistachio and dark chocolate, Jordan was torn between pecan and salted caramel.

sucre-macaron-4

We know you’ll love them too, which is why we’re happy to say that Sucré has offered to send a box to one of our readers. Comment below to enter to win some of these delightful confections delivered right to your door! Giveaway ends next Tuesday June 18th so get on it!  Giveaway closed. Congratulations Elisabeth Springer! Thanks for playing along everyone!

sucre-macaron-1-Emily


Categories
Recipes

baking therapy: salted chocolate chip cookies

Jordan loves chocolate chip cookies. He also loves to boast that his chocolate cookies are better than anyone elses’, including mine. A risky thing to boast when I happen to be the one baking chocolate chip cookies for him on a fairly regular basis, but that is neither here nor there. These are a variation on my tried and true recipe inspired by the cookies made by another exceptionally nice girlfriend of an Amoeba-Music-Store-working boy.

Salted Chocolate Chip Cookies
2 1/4 cups all-purpose flour
1 t baking soda
1 t coarse salt
1 cup butter, softened
3/4 cup sugar
3/4 cup brown sugar
2 large eggs
1 t vanilla
2 cups semi-sweet chocolate chips (We like Guittard the best)
fleur de sel or other very coarse sea salt  (Our friends Matt and Alexa brought us back fleur de sel from their trip to Paris!)

Preheat an oven to 375 degrees. In a large bowl, mix flour, baking soda and salt. In the bowl of a mixer, beat butter until light and fluffy. Add sugars and beat some more. This is a very important step in achieving excellent cookie texture once baked. Add eggs one at a time beating after each addition. Add vanilla. Stir in flour until just combined. Stir in chocolate chips. Scoop into rough balls and place on a cookie sheet 2 inches apart. Bake for 12 minutes, until crusty on the outside but still soft in the center. When you remove them from the oven, top with a sprinkle of fleur de sel.

Surprise, surprise … Jordan liked these cookies, but prefers his standby recipe sans salt topping. I thought the salt added a fun crunch and burst of flavor. Still, I think I may agree with Jordan that traditional chocolate chip cookies might be the best.

-Emily

Categories
Recipes

honey ginger sandwich cookies with lemon cream

These cookies started out as ginger snaps. And then I realized that I didn’t have any ground ginger, remembered that I don’t actually like molasses, and worried that ginger snaps are often teeth-breakingly crunchy. Also, I wanted something lemony. So I improvised and ended up with these soft sandwich cookies. The fresh ginger is refreshing and pairs nicely with the lemon. The honey is mild, and much better than molasses. I might even suggest that it lends the soft texture to these cookies.

Honey Ginger Sandwich Cookies with Lemon Buttercream

For the cookies
1 1/2 cups all-purpose flour
1 1/2 t baking soda
1/2 t salt
1 stick plus 2 T unsalted butter, softened
3/4 cup sugar, separated
1 egg
1/4 cup honey
2 T fresh ginger, diced

Preheat an oven to 350. Line two baking sheets with parchment paper. In a small saucepan over low heat, dissolve 1/4 cup sugar with the ginger. Take care to  stir often and watch it closely. Once dissolved, take of the heat. In a medium bowl, mix flour, baking soda and salt. In a mixer, beat butter until light and fluffy. Cream in remaining 1/2 cup sugar. Add egg, honey and ginger-sugar mixture. Add flour and stir just to combine.

Place 1 T size dollops of cookie dough about 3 inches apart on a cookie sheet. These cookies will spread out and flatten quite a bit while cooking. Bake for 15 minutes, until golden brown. Cool on a rack before frosting.

For the buttercream
6 T unsalted butter, softened
1 1/2 cup powdered sugar
1/2 lemon, zest and juice

Beat the butter until light and fluffy. Add the zest and lemon juice. Beat in the powdered sugar. Spread a large dollop of frosting on one cooled cookie and top with another.

Jordan and I both enjoyed these cookies. While they won’t become my go-to cookie, Jordan says he wants to give them another try. The cookie was overshadowed by my very lemony buttercream frosting. Jordan thought I was just crazy to try a new cookie and a new frosting in just one confection—maybe I’ll bake only the cookies next time.

-Emily

Categories
Recipes

baking therapy: pumpkin cookies with browned butter icing

Sadly, I think summer might officially be over in San Francisco. The past few days have been chilly, drizzly and grey. I’d complain more, but the end of summer means the start of fall …  new ingredients to choose from, heartier recipes to make and PUMPKIN EVERYTHING!

This week’s baking therapy showcases fall flavors- pumpkin, cinnamon, ginger, and nutmeg. Plus, who doesn’t love browned butter?!

I halved the recipe because I didn’t think Jordan and I could consume 6 dozen pumpkin cookies over the next few days, but the whole recipe is below.

Pumpkin Cookies with Browned Butter Icing, adapted from Martha Stewart Living

For the cookies
2 3/4 cups all-purpose flour
1 teaspoon baking powder
1 teaspoon baking soda
1 1/4 teaspoons coarse salt
1 1/2 teaspoons ground cinnamon
1 1/4 teaspoons ground ginger
3/4 teaspoon ground nutmeg
3/4 cup (1 1/2 sticks) unsalted butter, softened
2 1/4 cups packed light-brown sugar
2 large eggs
1 1/2 cups canned solid-pack pumpkin (14 ounces)
3/4 cup evaporated milk
1 teaspoon pure vanilla extract

For the icing
4 cups confectioners’ sugar, sifted
10 tablespoons (1 1/4 sticks) unsalted butter
1/4 cup plus 1 tablespoon evaporated milk,
2 teaspoons pure vanilla extract

For the cookies

Preheat the oven to 375 degrees. Whisk together flour, baking powder, baking soda, salt, cinnamon, ginger, and nutmeg in a medium bowl; set aside.

Put butter and brown sugar in the bowl of an electric mixer Mix on medium speed until pale and fluffy. Mix in eggs. Reduce speed to low. Add pumpkin, evaporated milk, and vanilla; mix until well blended. Add flour mixture; mix until combined.

Transfer 1 1/2 cups batter to a pastry bag fitted with a 1/2-inch plain tip (you could also use large ziplock with the tip cut off one corner). Pipe 1 1/2-inch rounds onto parchment-lined baking sheets, spacing 1 inch apart. Bake cookies until tops spring back, about 12 minutes. Cool on sheets on wire racks 5 minutes. Transfer cookies to wire racks; let cool completely.

For the icing

Put confectioners’ sugar in a large bowl; set aside. Melt butter in a small saucepan over medium heat. Cook, swirling pan occasionally, until golden brown, about 3 minutes. Immediately add butter to confectioners’ sugar, scraping any browned bits from sides and bottom of pan. Add evaporated milk and vanilla; stir until smooth. Spread about 1 teaspoon icing onto each cookie. If icing stiffens, stir in more evaporated milk, a little at a time. Cookies can be stored in single layers in airtight containers at room temperature up to 3 days.

Conclusions: The cookies are soft and delicate with a subtle pumpkin flavor. Sadly, I over-iced them and the browned butter flavor was a bit overpowering.  A lighter coating of icing next time, plus a little bit more of the spices and they’ll be spot on. Despite their imperfections, with a cup of tea or coffee these little guys are delightful!

-Emily