Categories
Recipes

nonnie’s russian teacakes

russian-teacakes-8

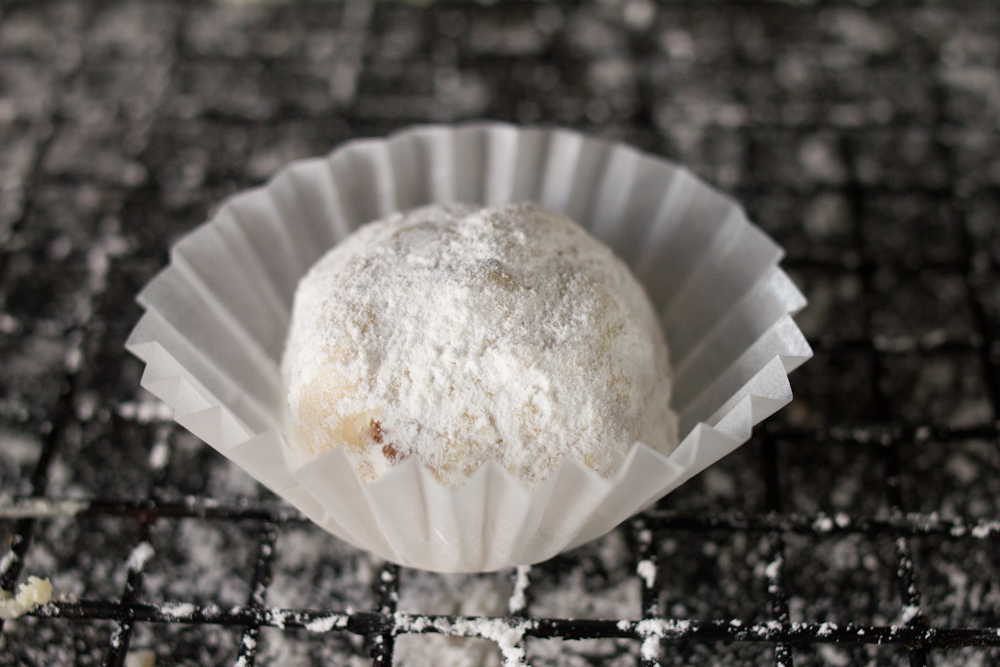
These are probably my favorite cookie. They are buttery, just the right amount of sweet, as perfect with coffee as they are with a glass of milk. The recipe is my Nonnie’s, and she always makes sure to have a tin of them ready when I go over to visit.  Food just tastes better when someone makes it for you, especially if that person knows their way around a stick of butter like my Nonnie.

I usually have an acceptable level of self-control in regards to the desserts I make, but restraint is nearly impossible with these cookies. These cookies are are my kryptonite. Whenever I make them, or am lucky enough to snag a tin from the master herself, I force myself to ration them to make them last as long as possible. One for breakfast with coffee, two for dessert. Tin kept under lock and key. Trust me, it’s tough to not plow through the entire batch in a day or two. I ate the last one out from under Jordan’s nose and didn’t feel even the slightest tinge of remorse. That is how much I love these cookies.

Because they are a family specialty and because they are my favorites, I thought it only fitting to go all out for the Great Food Blogger Cookie Swap and send these to three lucky ladies, Rebecca, Laura and Willow.

russian-teacakes-13

Nonnie’s Russian Teacakes
1 cup (2 sticks) butter, softened
1/2 cup powdered sugar, sifted
1 tsp vanilla extract
2 1/4 cup all-purpose flour, sifted
1/4 tsp salt
3/4 cup pecans, finely chopped
powdered sugar, for rolling in after baking

russian-teacakes russian-teacakes-2

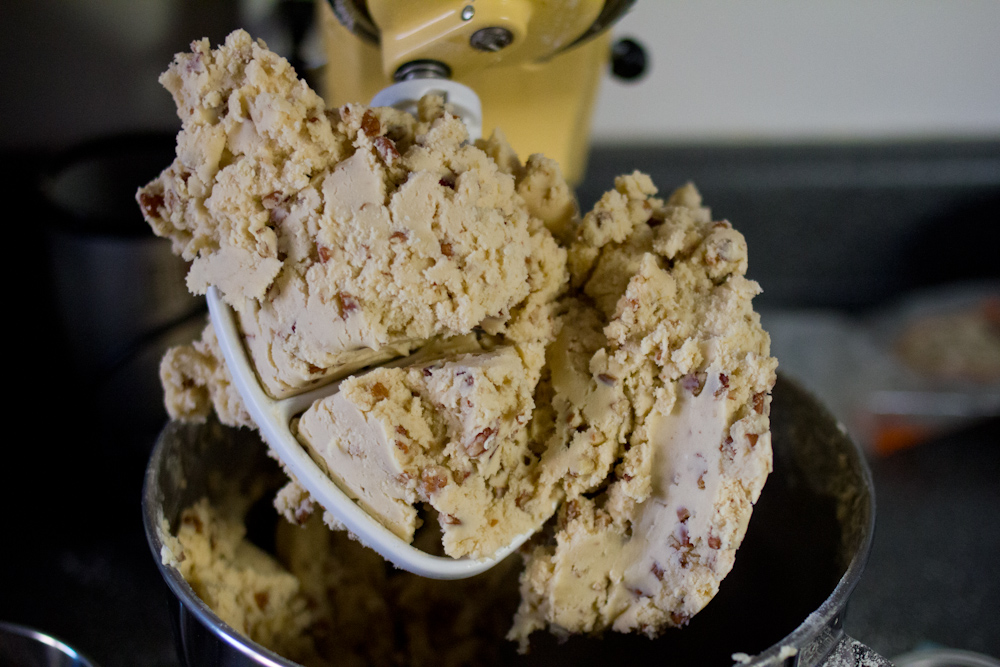
Beat the butter until light and fluffy. Beat in sifted powdered sugar and vanilla until well combined. Sift in flour and salt. Add pecans. Mix until a crumbly dough forms. Refrigerate for at least four hours, preferably overnight.

russian-teacakes-6russian-teacakes-5

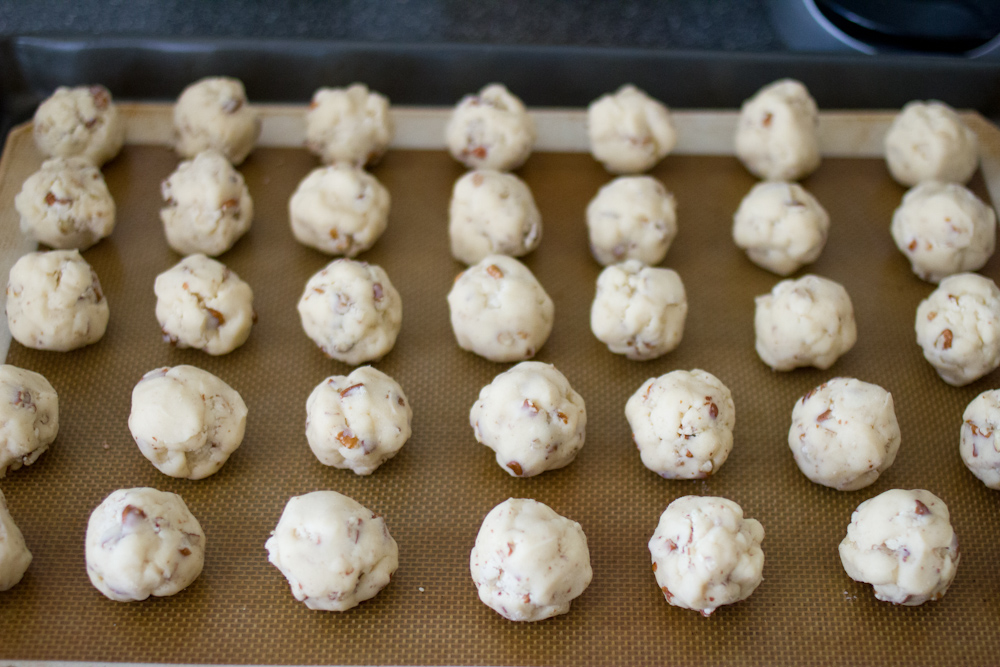
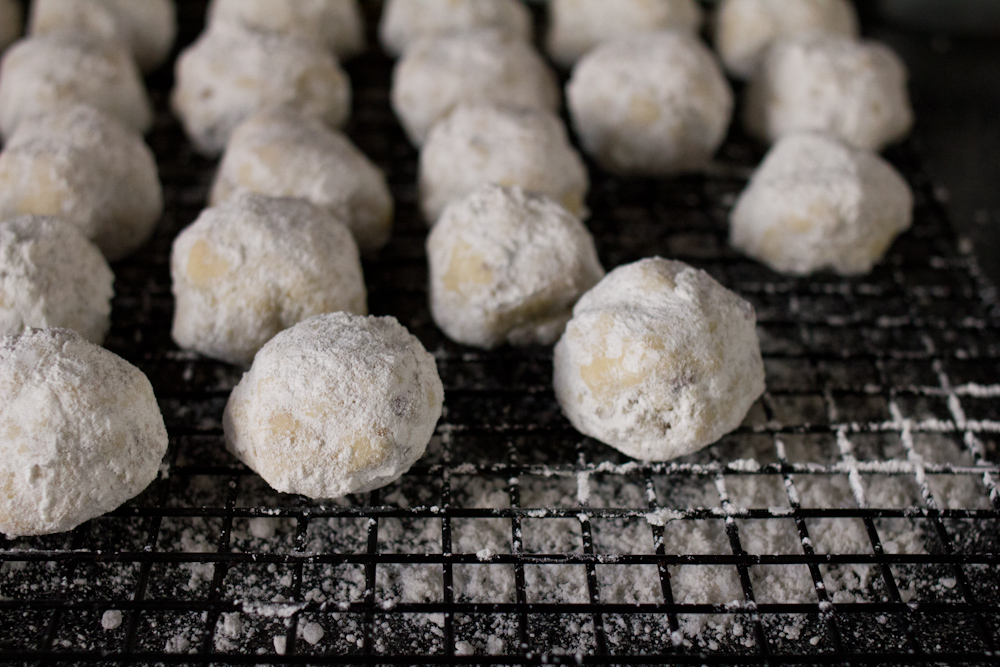
Preheat your oven to 400° F. Roll dough into 1″ balls. Bake 12 – 14 minutes, until they are just starting to be a bit golden around the bottom. Roll in powdered sugar while hot. Let cool completely and roll again in powdered sugar.

russian-teacakes-7russian-teacakes-10

My Nonnie is an amazing cook. She rocks pot roast, turkey stuffing, crab cakes, berry pie, biscotti, not to mention her famous cheesecake, like nobody’s business. My russian teacakes couldn’t hold a candle to Nonnie’s until very recently, but my dedication to the art has paid off.  My secrets are revealed in this little puppet below. Watch it and learn how to make your cookies *almost* as good as Nonnie’s!

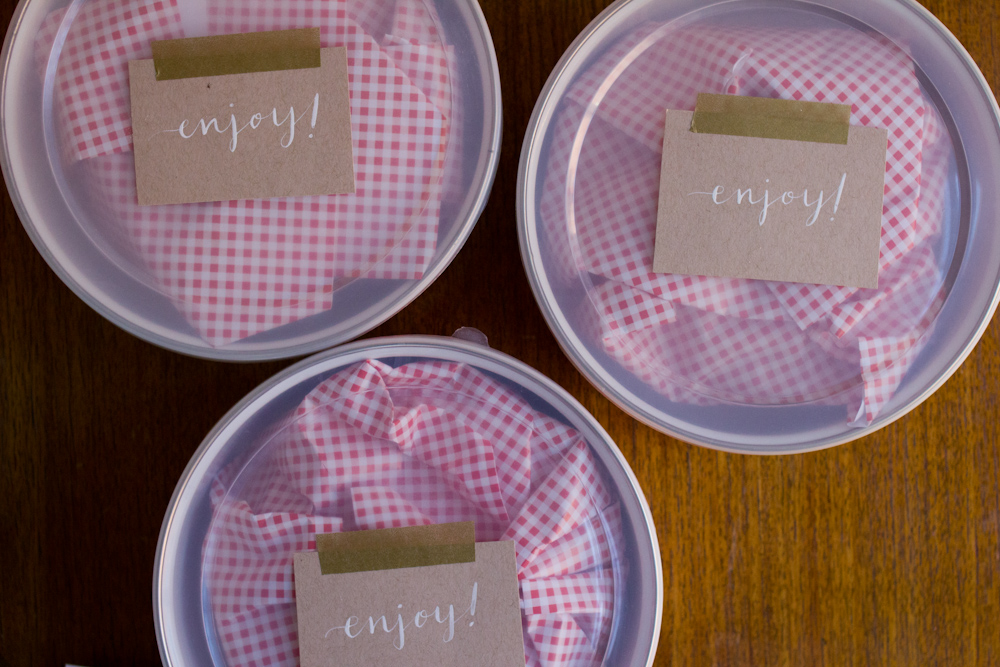
Packing cookies for transport is a serious thing. And serious things usually require a trip to Daiso, the Japanese version of the dollar store and one of my favorite places in San Francisco. There I picked up some adorable tins, mini cupcake papers and gingham wrapping paper—all in the interest of making sure my cookies arrived unharmed and as adorable as they are delicious. Once cooled, cookies were placed in tins, recipes were written up, and I packed the mailing boxes chock full with crumpled pages of an unread Vogue magazine to ensure my cookies didn’t get to jostled on their journey. Priorities.

russian-teacakes-4russian-teacakes-9russian-teacakes-12russian-teacakes-14russian-teacakes-15

And now that I’ve exhausted you with all kinds of adorable, you really should make these cookies this holiday season.

-Emily
russian-teacakes-17

Categories
Recipes

salted dark chocolate cookies

I noticed these cookies on Orangette a few weeks ago and decided to give them a go. Who can really say no to chocolate or salt, much less chocolate and salt together.

These cookies were also an experiment in dough refridgeration. The recipe recommends that you refrigerate the dough overnight, and I was curious how much of a difference that made in the end product. The first night I baked these cookies, I froze the dough for 30 minutes before baking. I also baked them the next day after they’d been refrigerating for about 24 hours. Honestly, I didn’t notice a big difference at all.  Do note though, this dough is quite sticky straight out of the mixture so some sort of refrigeration is necessary, unless you just want to make a drop cookie similar to a chocolate chip cookie.

Salted Dark Chocolate Cookies, via Orangette and adapted from from Tartine by Elisabeth M. Prueitt and Chad Robertson, and from Renee Erickson and Boat Street Café

8 ounces bittersweet chocolate, coarsely chopped
1 ¼ cups all-purpose flour
½ cup plus 2 T unsweetened cocoa powder
2 t baking powder
8 T unsalted butter, at room temperature
cup plus 2 T sugar, plus more for rolling the logs
2 large eggs
¼ t kosher salt
1 t vanilla extract
1/3 cup whole milk (I used 1% and it turned out just fine)
Maldon salt, for finishing (Amazingly, we had this particular variety of salt. You might remember The Salties. You’re looking for a large-flaked salt so it doesn’t just dissolve into the cookie or over-salt it)


Melt the chocolate in a double boiler over simmering water. I usually use a medium-sized metal bowl over a small sauce pan with a few inches of water in it. Melt the chocolate slowly, stirring frequently. Chocolate can burn so easily.

In a medium bowl, whisk together the flour, cocoa, and baking powder. Using a stand mixer fitted with the paddle attachment, beat the butter on medium-high speed until creamy. Slowly add the sugar, and continue to beat until the mixture is completely smooth and soft, stopping to scrape down the sides of the bowl with a rubber spatula as needed. Add the eggs one at a time, mixing well after each addition. Beat in the salt and the vanilla, and then add the melted chocolate, beating to incorporate. Add the milk, and beat until combined. Finally, add the flour mixture and beat on low speed until just incorporated. The dough will be quite thick and stiff.

Cut two large pieces of plastic wrap and put them on your counter. Divide the dough into two portions and place in the middle of each square of plastic wrap. Using the plastic wrap to prevent the dough from sticking to your hands, smoosh the dough into a log like shape that is about two inches in diameter. Wrap the log in plastic wrap and stick in the freezer or refrigerate to firm up.

When it’s time to bake, preheat the oven to 350°F, and line a baking sheet with parchment paper.

Put another sheet of parchment paper on your work surface. Take a spoonful or two of sugar, and pour it onto the parchment, making a ridge of sugar of approximately the same length as your dough logs. Remove a log from the fridge, unwrap it, and roll in the sugar to evenly coat. Using a thin, sharp knife, slice the dough into ¼- to 1/3-inch slices.  Lay the slices on the baking sheet, leaving about 2 inches between each cookie. Sprinkle each cookie with a few flakes of Maldon salt.

Bake for 10 minutes, or until the top of the cookies looks set but still feels a little soft to the touch. Transfer to a wire rack, and leave the cookies on the pan to cool. Repeat with remaining dough.

These cookies will keep for several days in a cookie tin.

-Emily

Categories
Recipes

baking therapy: whole wheat shortbread

I very much enjoying making my food blog rounds, collecting new ideas, ooohhing and ahhhing at all the pretty photos and delicious dishes. There are just so many amazing cooks out there – it’s both intimidating and inspiring! These whole wheat shortbread cookies caught my eye on Lottie + Doof, a fabulous and adventurous mostly baking blog. They were just too adorable (and contained too much butter) not to make. I had high hopes to turn them into nectarine sorbet-shortbread ice cream sandwiches. The sandwiches never happened, but these cookies were wonderful.

Whole Wheat Shortbread, adapted from Lottie + Doof 
2 cups plus 2 T all purpose flour
1 cup plus 1 T whole wheat flour
3/4 cup cornstarch
16 oz butter, at cool room temperature (I used Strauss Unsalted Butter – it is amazingly creamy and has a great grassy flavor)
3/4 cup sugar
1 t salt
additional sugar for dusting

Heat an oven to 325 degrees. In a large bowl, combine the flours and cornstarch. In standing mixer, beat butter, sugar and salt together. Add the flour mixture and mix just to combine. Be careful not to overmix – you don’t want a tough cookie!

Line several baking sheets with parchment. Roll out the dough on a flour dusted workspace. I rolled mine out to about 1/4 inch thickness. Cut using cookie cutters into your desired shapes – I choose a round because it was the only cutter I knew its whereabouts. Transfer onto your parchment lined sheets using a thin spatula. The dough is very soft and your meticulously cut shapes can get a little wonky if you’re not careful with them. Bake for 12 – 15 minutes, until just golden on the edges. Let them cool for a few moments and then dust with sugar. After dusting, let them cool completely on a wire rack and then enjoy!

These cookies are wonderful – so light and delicate and just sweet enough. They are good with sorbet, with coffee, and all by themselves. The recipe makes a lot of dough … I would recommend halving it or saving some of the dough in the freezer for the next time a shortbread craving strikes. If you decide to go the freezer route, let the dough come to cool room temperature before rolling it out and then bake as directed above.

And wow … we’ve had a lot of sweet treat posts in a row. Where’s Jordan to help set this course right?

-Emily

Categories
Recipes

baking therapy: miykaelah’s madeleines

Oh, how I’ve missed Miykaelah’s madeleines since moving to San Francisco! They are the perfect cookie whether eaten by themselves or accompanied with tea, and thanks to Miykealah, one of my favorites. I know the madeleine pan is a bit of an investment, but these cookies are so worth the $14 pan. And, because of that scalloped pan they come out so darn cute!

Miykaelah’s Madeleines
1 1/4 cup cake flour
1/4 t baking powder
1/4 t salt
2 large eggs + two large egg yolks, room temperature
1 t vanilla extract
3/4 cup sugar
grated zest of 1/2 lemon
1/2  cup unsalted butter, melted then cooled

Preheat oven to 375 degrees

Generously brush madeleine pan with melted butter and dust with sugar

In a large bowl with an electric mixer on medium speed, beat the whole eggs, egg yolks and sugar until light and fluffy. Add vanilla and lemon zest and beat until well combined.

In a separate bowl, combine cake flour, baking powder and salt.

Using a rubber spatula, fold the flour mixture into the egg mixture until blended. Add the melted butter and fold until combined.

Drop batter by the spoonful into the madeleine molds. Fill each 3/4 full. Bake until golden brown and springy to the touch, 12-15 minutes.

Immediately invert pan onto a wire rack. Let cool completely. Wipe out pan, let cool, brush with melted butter, dust with sugar and repeat with remaining batter.

Conclusions: Wonderful, perfectly wonderful. I wouldn’t change a thing!

-Emily