I got back from my trip to Taiwan a week before Thanksgiving, and time has just been barreling forward since. Work, work, work, Thanksgiving, weekend of wedding scheming with my mom, radio appearance, work, work, work, work, work, Christmas Cookie Day, try recipes from a friend’s new cookbook, back to work. I’ve got a feeling we’ll be moving at this clip through the end of the year.


But, somewhere in there, I did have time to make this cake. This slow down and savor the moment with a cup of tea cake. Neither Jordan or I are big fans of almond flavored desserts typically, but this cake is really perfection. The crumb is tight, but not too dense, and not at all dry. The almond flavor is just right. Not enough to taste fake, just enough to say, ‘yes sir, I am an almond cake. Pleased to be your breakfast’.
I love a cake that transitions effortlessly from dessert to breakfast. Some days mustering up the strength to get out of the door is tough. Cake helps with that. This cake is my breakfast cake ideal, and I’ve been thinking about it every breakfast since I made it a few weeks ago. It feels almost premature to say this one is being promoted to one of my go-to recipes, but I’m going to put it out there. It really is that good.
***


In Taiwan we drank a lot of tea. It was on of my favorite parts of the trip. We’d slow down from the marathon eating and sightseeing (which also was an absolute treat), to sit down in a quiet place and share some tea. There’s a whole ritual associated with having tea in Taiwan, which the server would walk us through every time before passing the responsibility of tea-brewer onto someone in our group. Quite possibly this whole routine was just putting on a show for tourists, but I loved it nonetheless. Sitting in a quiet tea shop in a jet-lagged haze, misty air blowing in through the open windows, the business of the city moving along outside, drinking delicately brewed tea, letting the experiences of the trip wash over me. It was good.
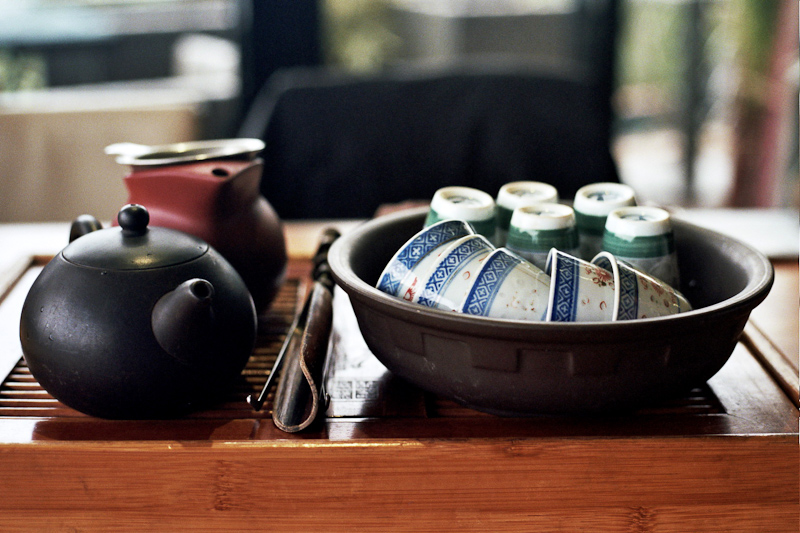


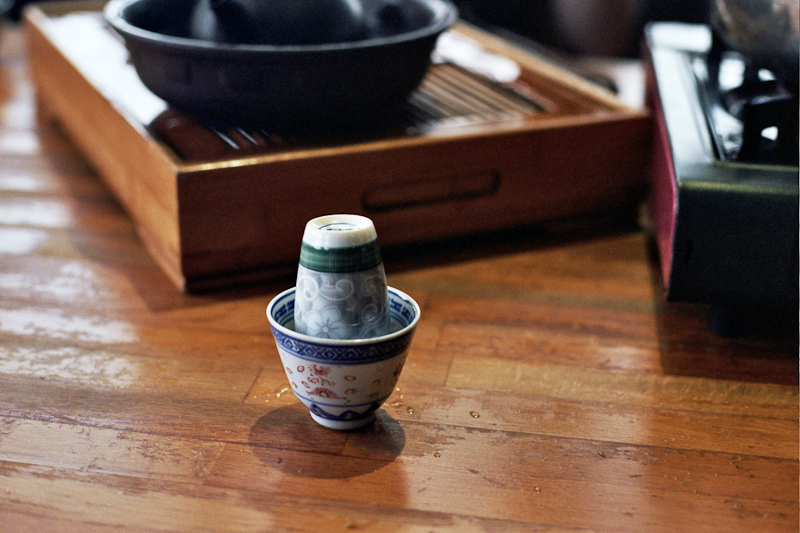
I tried to recreate the experience at home with Jordan, but it really wasn’t the same. I’m not quite as experienced a tea preparer as those tea house employees. Though Jordan did say that the tea tasted better out of the little tea set I brought back from Taiwan than out of our regular mugs. So that’s something. Plus, there was almond cake. Where there is tea, there should also be almond cake.
Almond Cake, from Orangette and adapted from Amanda Hesser’s Cooking for Mr. Latte
2 sticks (8 oz.) unsalted butter, at room temperature
1 cup sour cream, at room temperature
1 tsp. baking soda
2 cups all-purpose flour
1/2 tsp. salt
1 1/2 cups sugar
1 (7-ounce) tube almond paste, cut into small pieces
4 egg yolks, at room temperature
1/2 tsp. pure almond extract
Preheat your oven to 350° F. Butter and then line a 9″ springform pan with parchment paper, and then butter the paper. In a small bowl, mix together sour cream and baking soda. In another bowl, whisk together the flour and salt.
In the bowl of an electric mixer fitted with the paddle attachment, beat the butter and sugar until fluffy. Add the almond paste a few pieces at a time, and beat on medium speed for 8 minutes. Yes this is a long time, but want the almond paste to be nicely incorporated—no chunks.
Beat in the egg yolks one at a time, and mix until incorporated. Beat in the almond extract and the sour cream mixture. Reduce mixer speed to low, and gradually add the flour mixture, mixing just until combined. Using a rubber spatula, fold the batter a couple of times to make sure that all of your flour has been mixed in.
Scrape the batter into the prepared pan, and spread it evenly. Bake for about 1 hour – the cake will be a medium brown color and pull away from the sides of the pan. Transfer to a cooling rack, and cool the cake in its pan. Slice and serve with a dollop of whipped cream for dessert, or a cup of coffee or tea for breakfast.
-Emily


