Last night laying in bed, Jordan and I had a serious discussion. It went something like this …
“If you had to live the rest of your life without bacon or butter, which would it be?” “Ummmm, that’s a tough one. But as much as I love pork, especially bacon, I’m going to have to say butter.”
Then …
“If you had to live the rest of your life without coffee or butter, which would it be?” “Oh! Now that is just not fair. Ummmmm. Butter. A life without coffee is cruel, but butter just makes everything better. ” “So, butter?” “Yes, butter.”
Although the final decisions were hard to come to, the clear winner in these match-ups is butter, which brings us to today’s culinary experiment …
Heavy whipping cream -> Homemade butter! from Julia Child’s Mastering the Art of French Cooking
1 pint heavy whipping cream
Salt (optional)
Garlic, herbs, pepper (optional)
Start with a pint of heavy whipping cream. I poured it into my kitchen aid stand mixer and set the dial to high speed (6-8). You could also use a hand mixer, or put the cream in a jar and shake that sucker for 20 minutes. I took the easy way out and it took about 8 minutes to get from cream to butter.
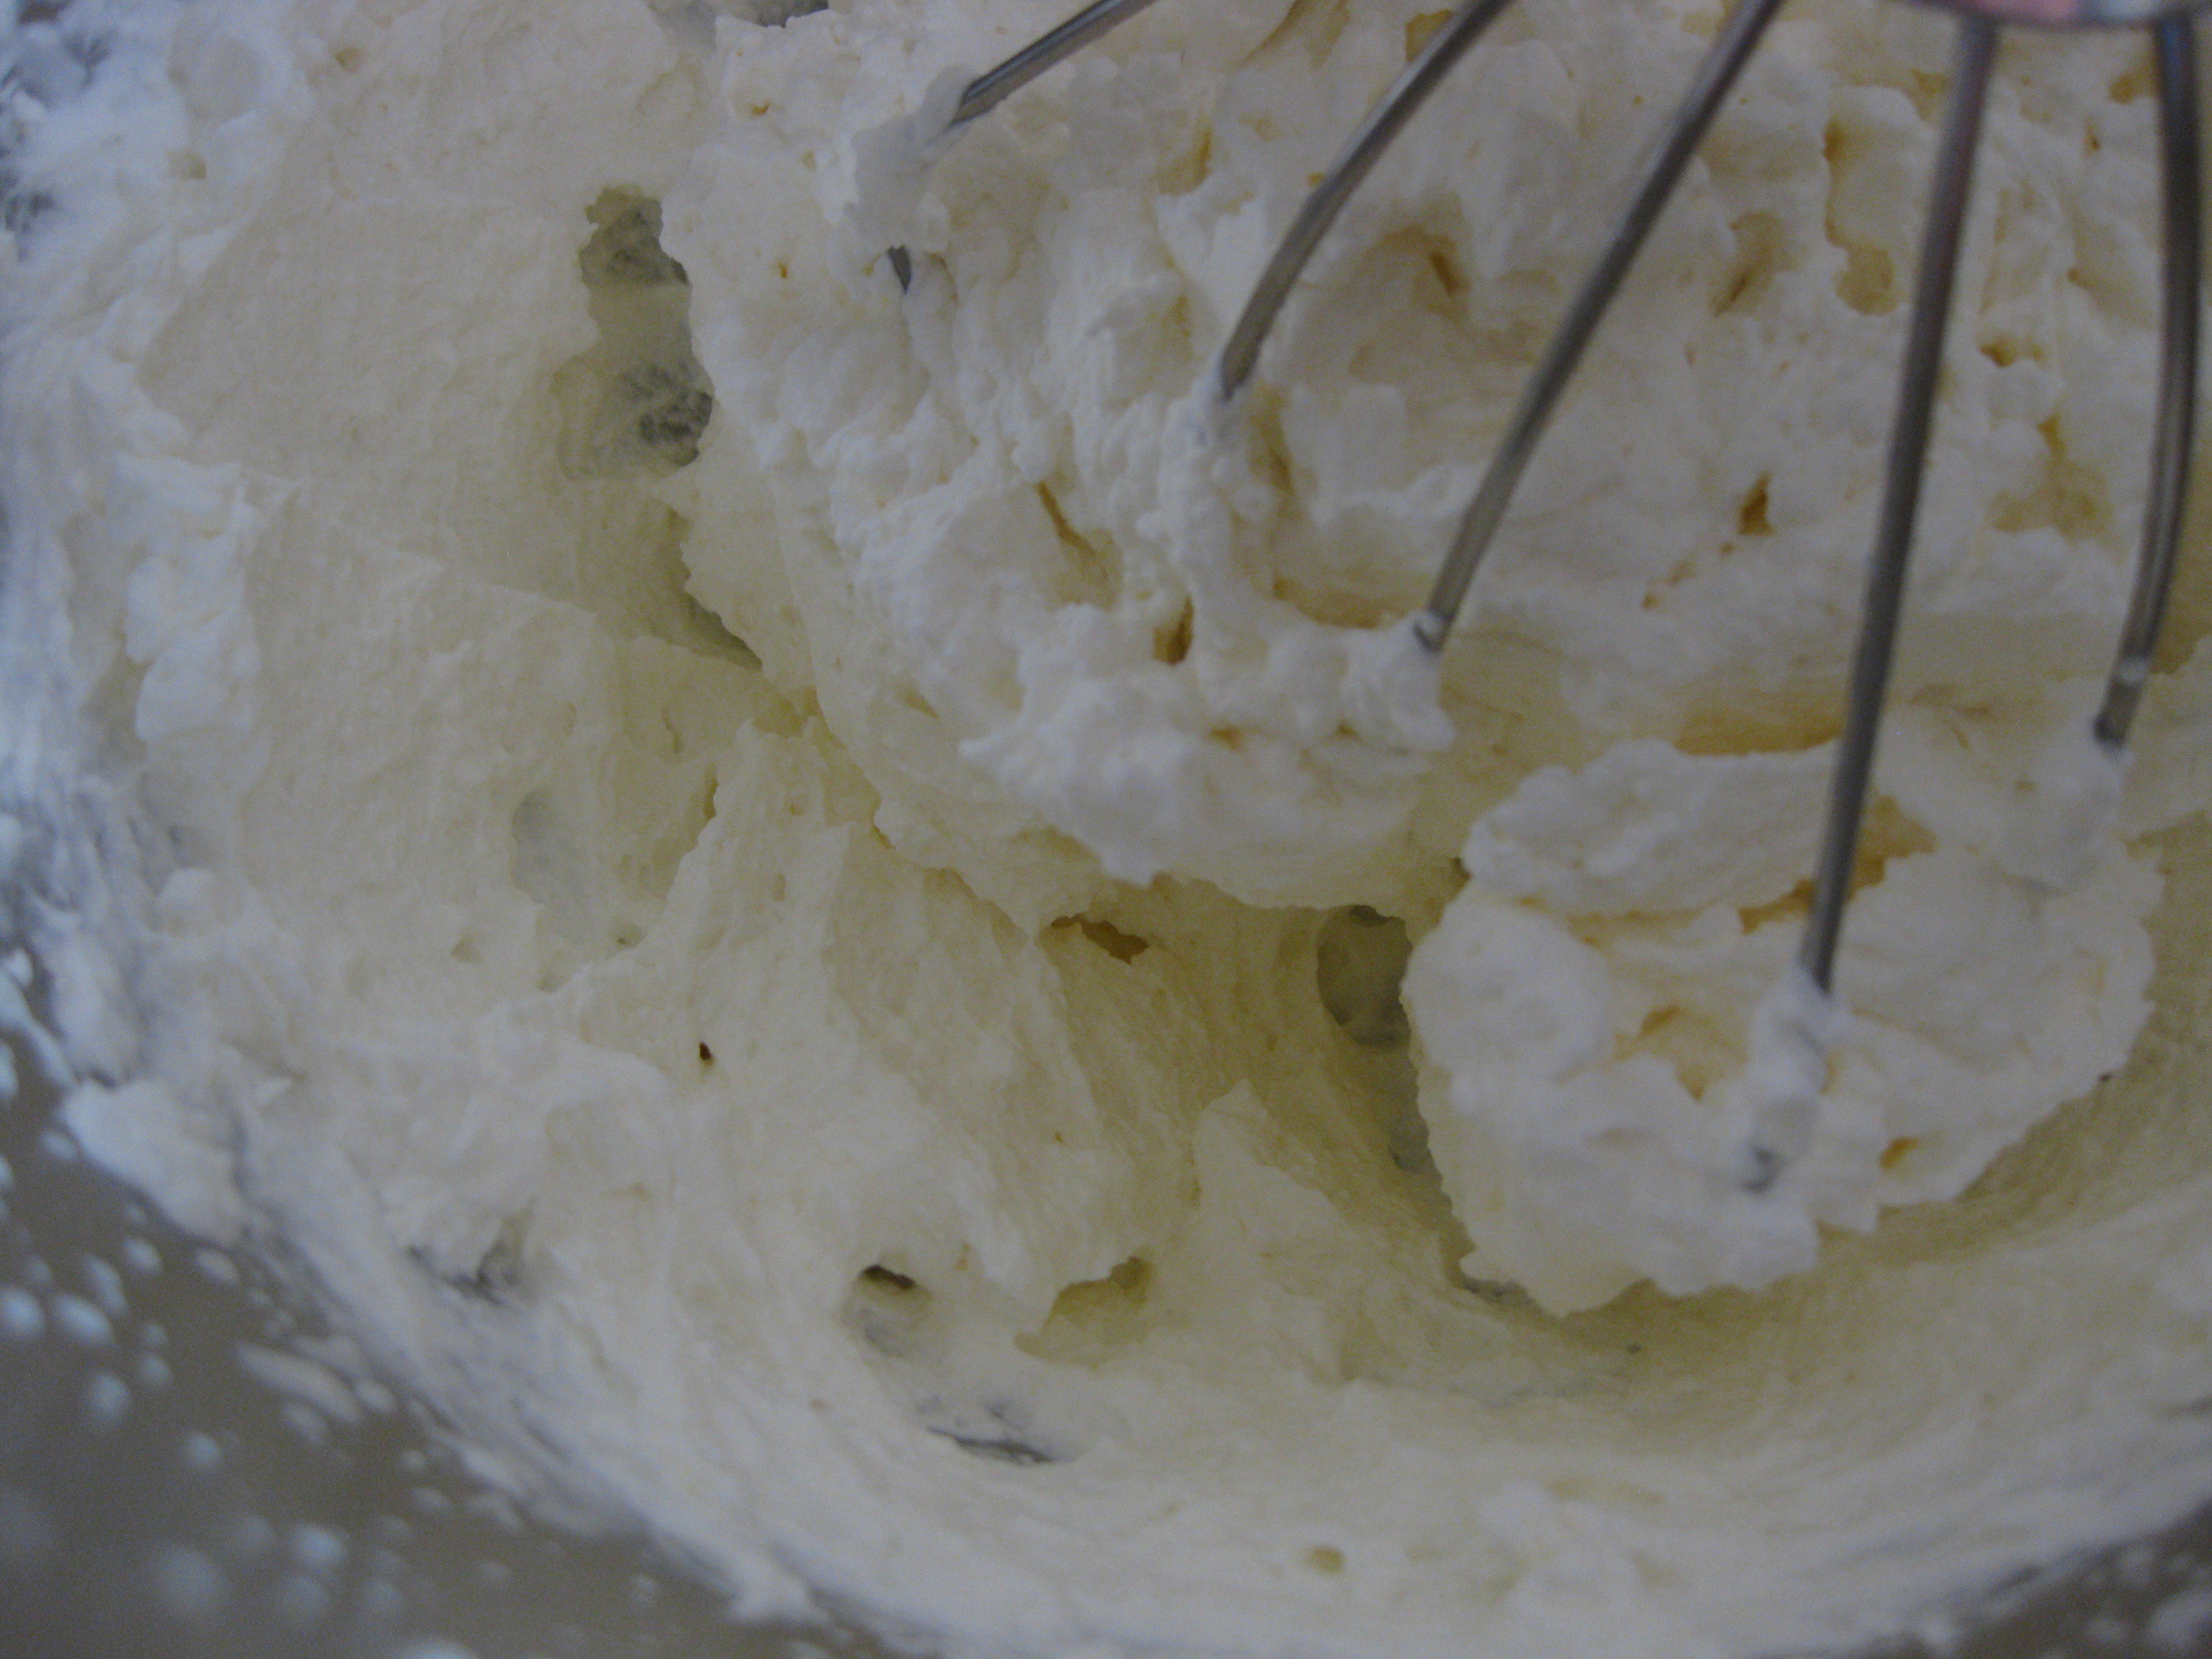
Beat the cream for several minutes, occasionally scraping down the sides of the bowl with a spatula. The cream will go through several stages. The transformation is pretty incredible. When the cream has turned into butter and buttermilk, you’ll know.
Stage 1: cream
Stage 2: whipped cream
Stage 3: extra-thick whipped cream
Stage 4: broken whipped cream (crumbly looking little bits)
Stage 5: separation of cream into butter and buttermilk!
Note: You may want to drape a kitchen towel over the mixer as to prevent splattering cream all over your kitchen. I realized this about half way through the process, and had a little extra cleaning up to do afterward.
Once the cream has separated into butter and buttermilk, strain the buttermilk out with a fine mesh sieve into a bowl. Place the butter in a separate bowl and press out more of the buttermilk with a wooden spoon. Pour off the buttermilk. Put the buttermilk aside and brainstorm a recipe using buttermilk.
Note: It is very important to get all of the buttermilk out of the butter. If you don’t remove all of the buttermilk from the butter, it will go rancid very quickly. And that would be very, very sad.
After you’ve squeezed most of the buttermilk, pour a cup or two ice-cold water over the butter. Using the back of a wooden spoon, smash the butter around. Washing the butter with water helps to remove the last of the buttermilk. Pour off the water. Repeat this process until the water you pour off is clear. I did it three times.
Note: the water must be ice-cold as to not melt the butter solids.
Add salt to taste and mix throughly with a wooden spoon.
The final product! Salted butter (about 1/2 cup) and buttermilk (about 1 cup)! YUM!
As an accompaniment to tonight’s dinner (Jordan will bring us more on that later), I decide to make Beurre d’ Ail garlic herb butter from Julia Child’s “Mastering the Art of French Cooking”. I’ve reduced her recipe to a one meal for two serving size.
4 T fresh, salted butter
1 clove garlic
1 T parsley (or other green herb), minced
Set the unpeeled clove of garlic in boiling water. Bring to a boil for 5 seconds. Remove from pot, rinse and peel. Bring to a boil again for 30 seconds more. Pound to a smooth paste in a mortar and pestle (or garlic press, if you don’t have a mortar and pestle).
Pound or cream the butter and garlic together. Season with additional salt, pepper, and herbs.
Conclusions: The salted butter is divine! I can’t be more thrilled to have it on hand. Plus, making it was a fun (and quick!) science experiment. I highly recommend it! When the cream shifted into butter and buttermilk, Jordan could hear me shouting from the kitchen, “It worked! It really worked!” I’m also pretty happy to have a back-up plan for the next time I over-whip whipped cream. Lastly, the garlic herb butter was terrific on bread at dinner. The garlic flavor was strong so if you don’t love garlic like we do, scale back a bit. Homemade butter is the best!
-Emily


